
Here are a few photos I snapped on my iPhone during my very first experience making damascus. I created a billet for a forth coming project collaboration. (More to come in a future post.) My mind was blown by the beautiful processes of this art form. I'm definitely hooked and want to learn more.
I hope that maybe these photos will encourage someone to start forging themselves and carry on these old traditions of craftsmanship. A special thanks to David Lisch of Studio 4 Forge and Bhakti Sa for sharing their time and wisdom with me.
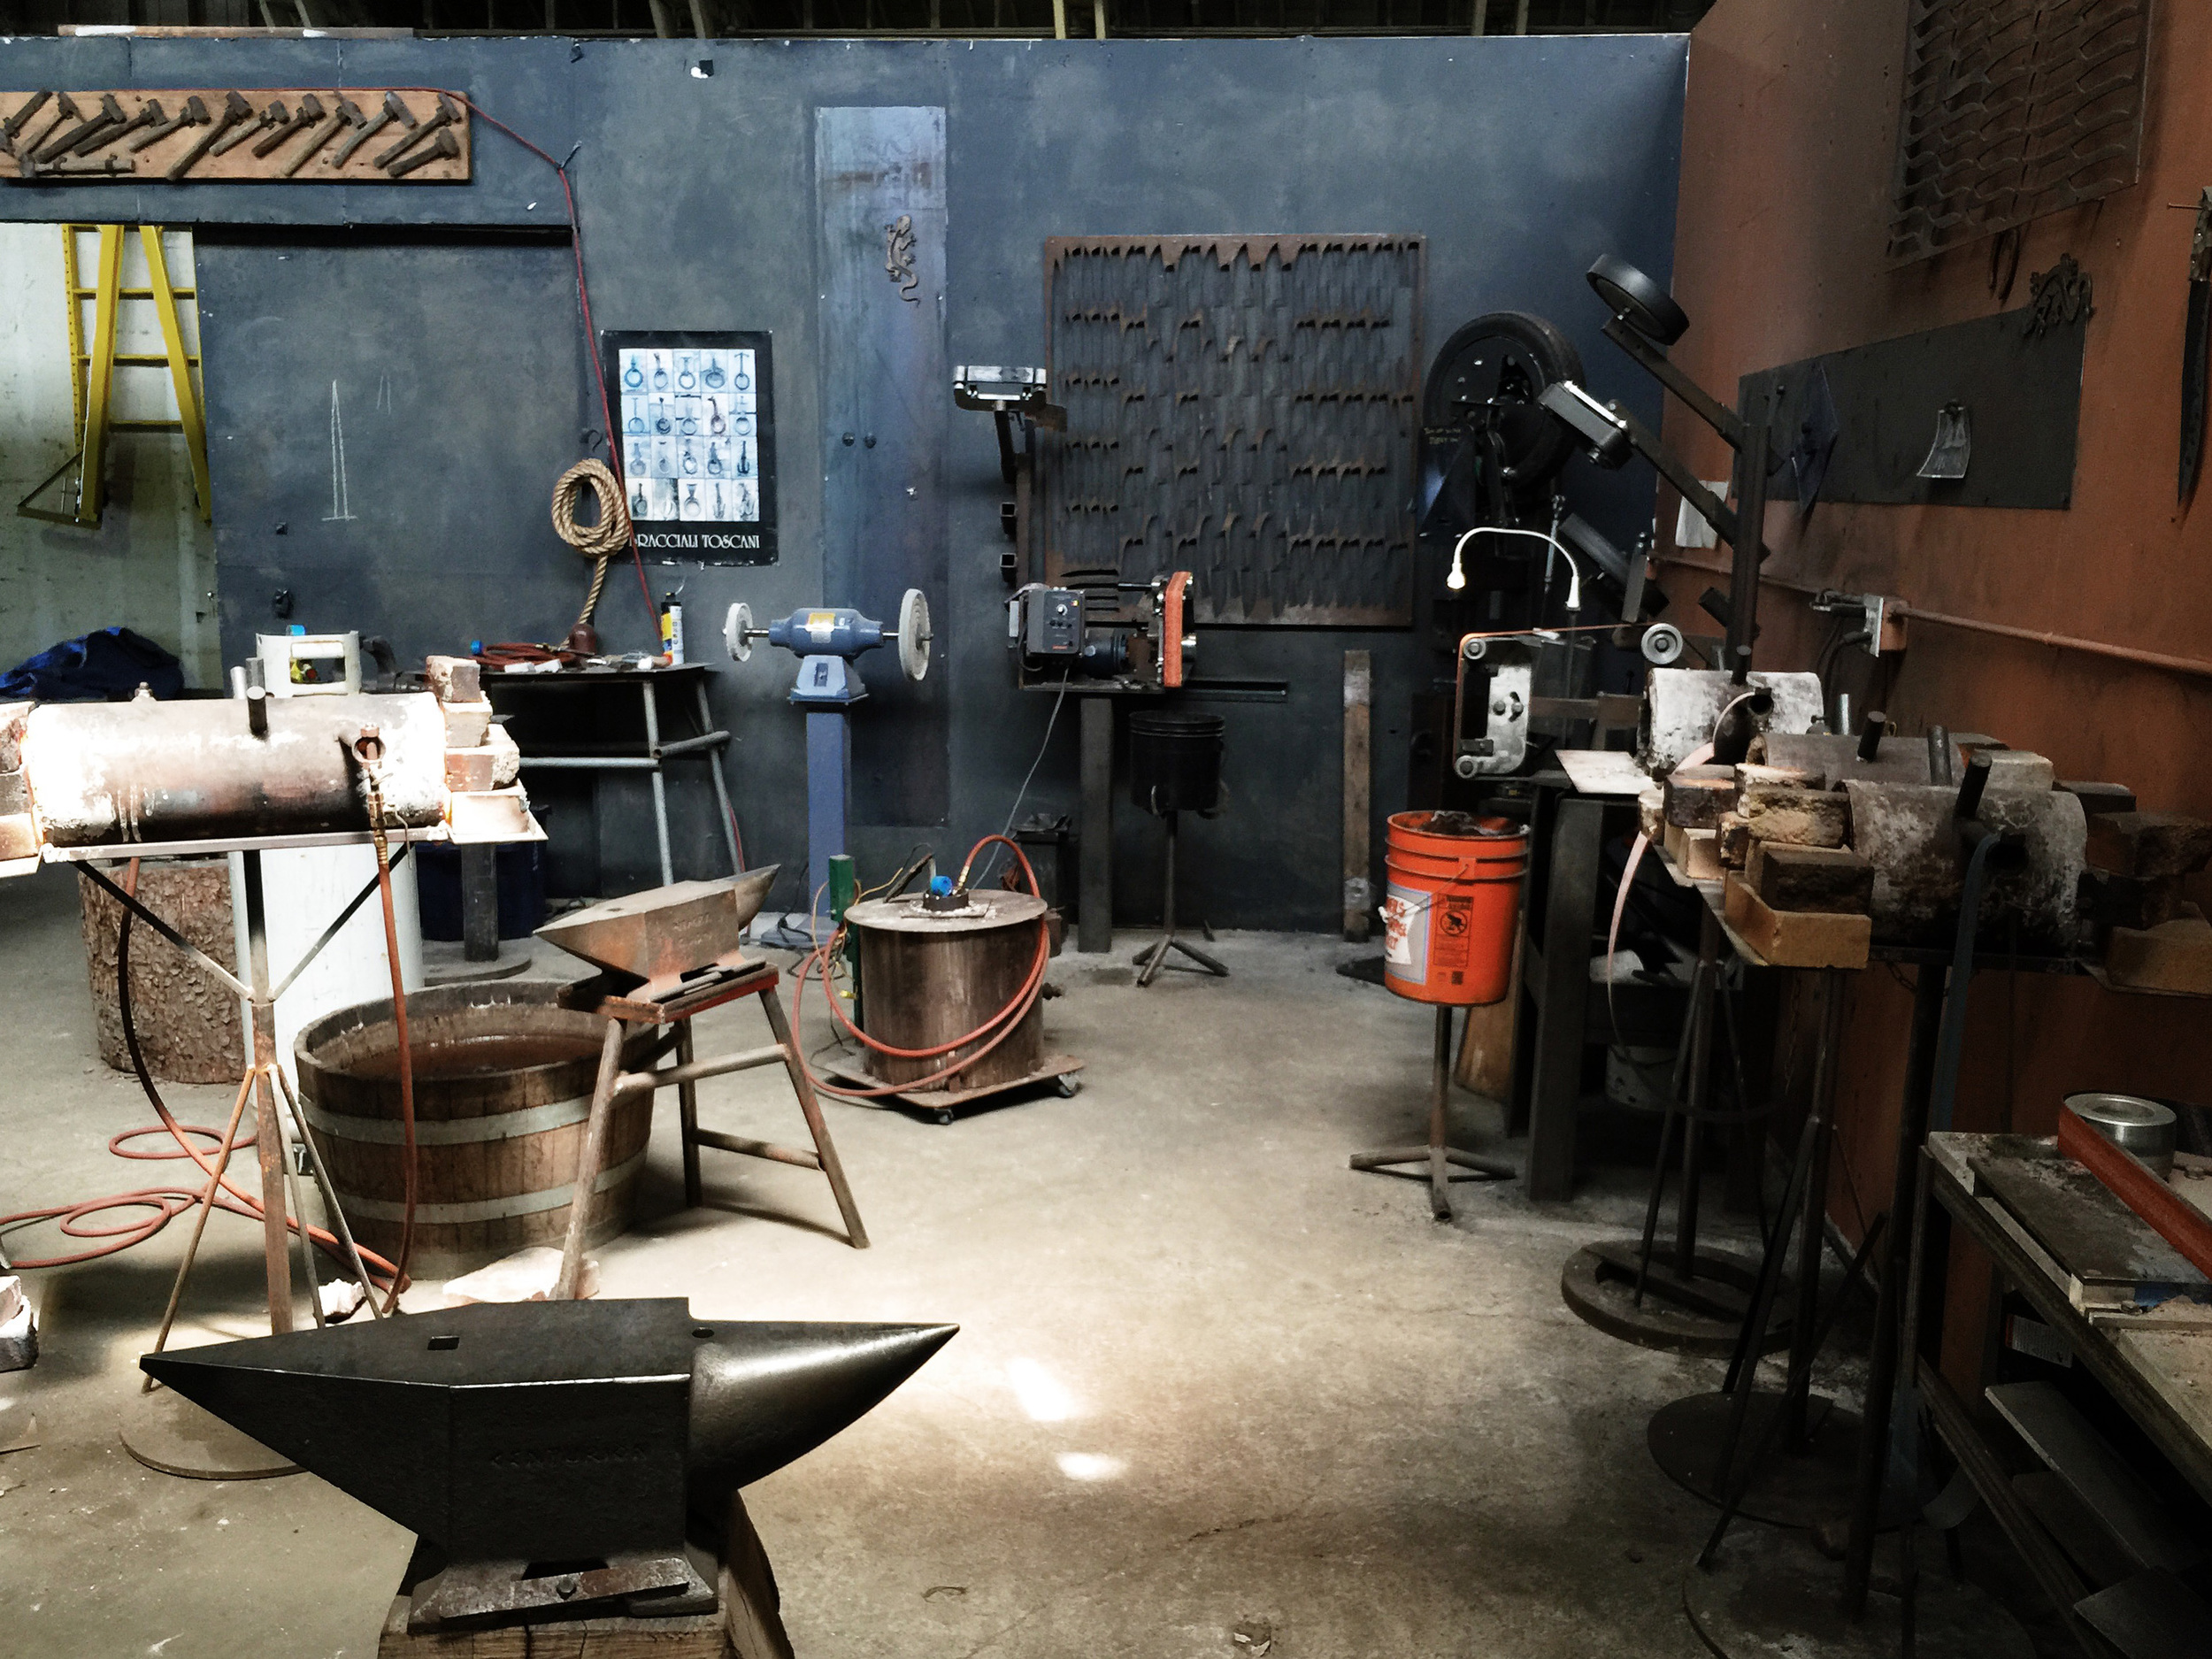
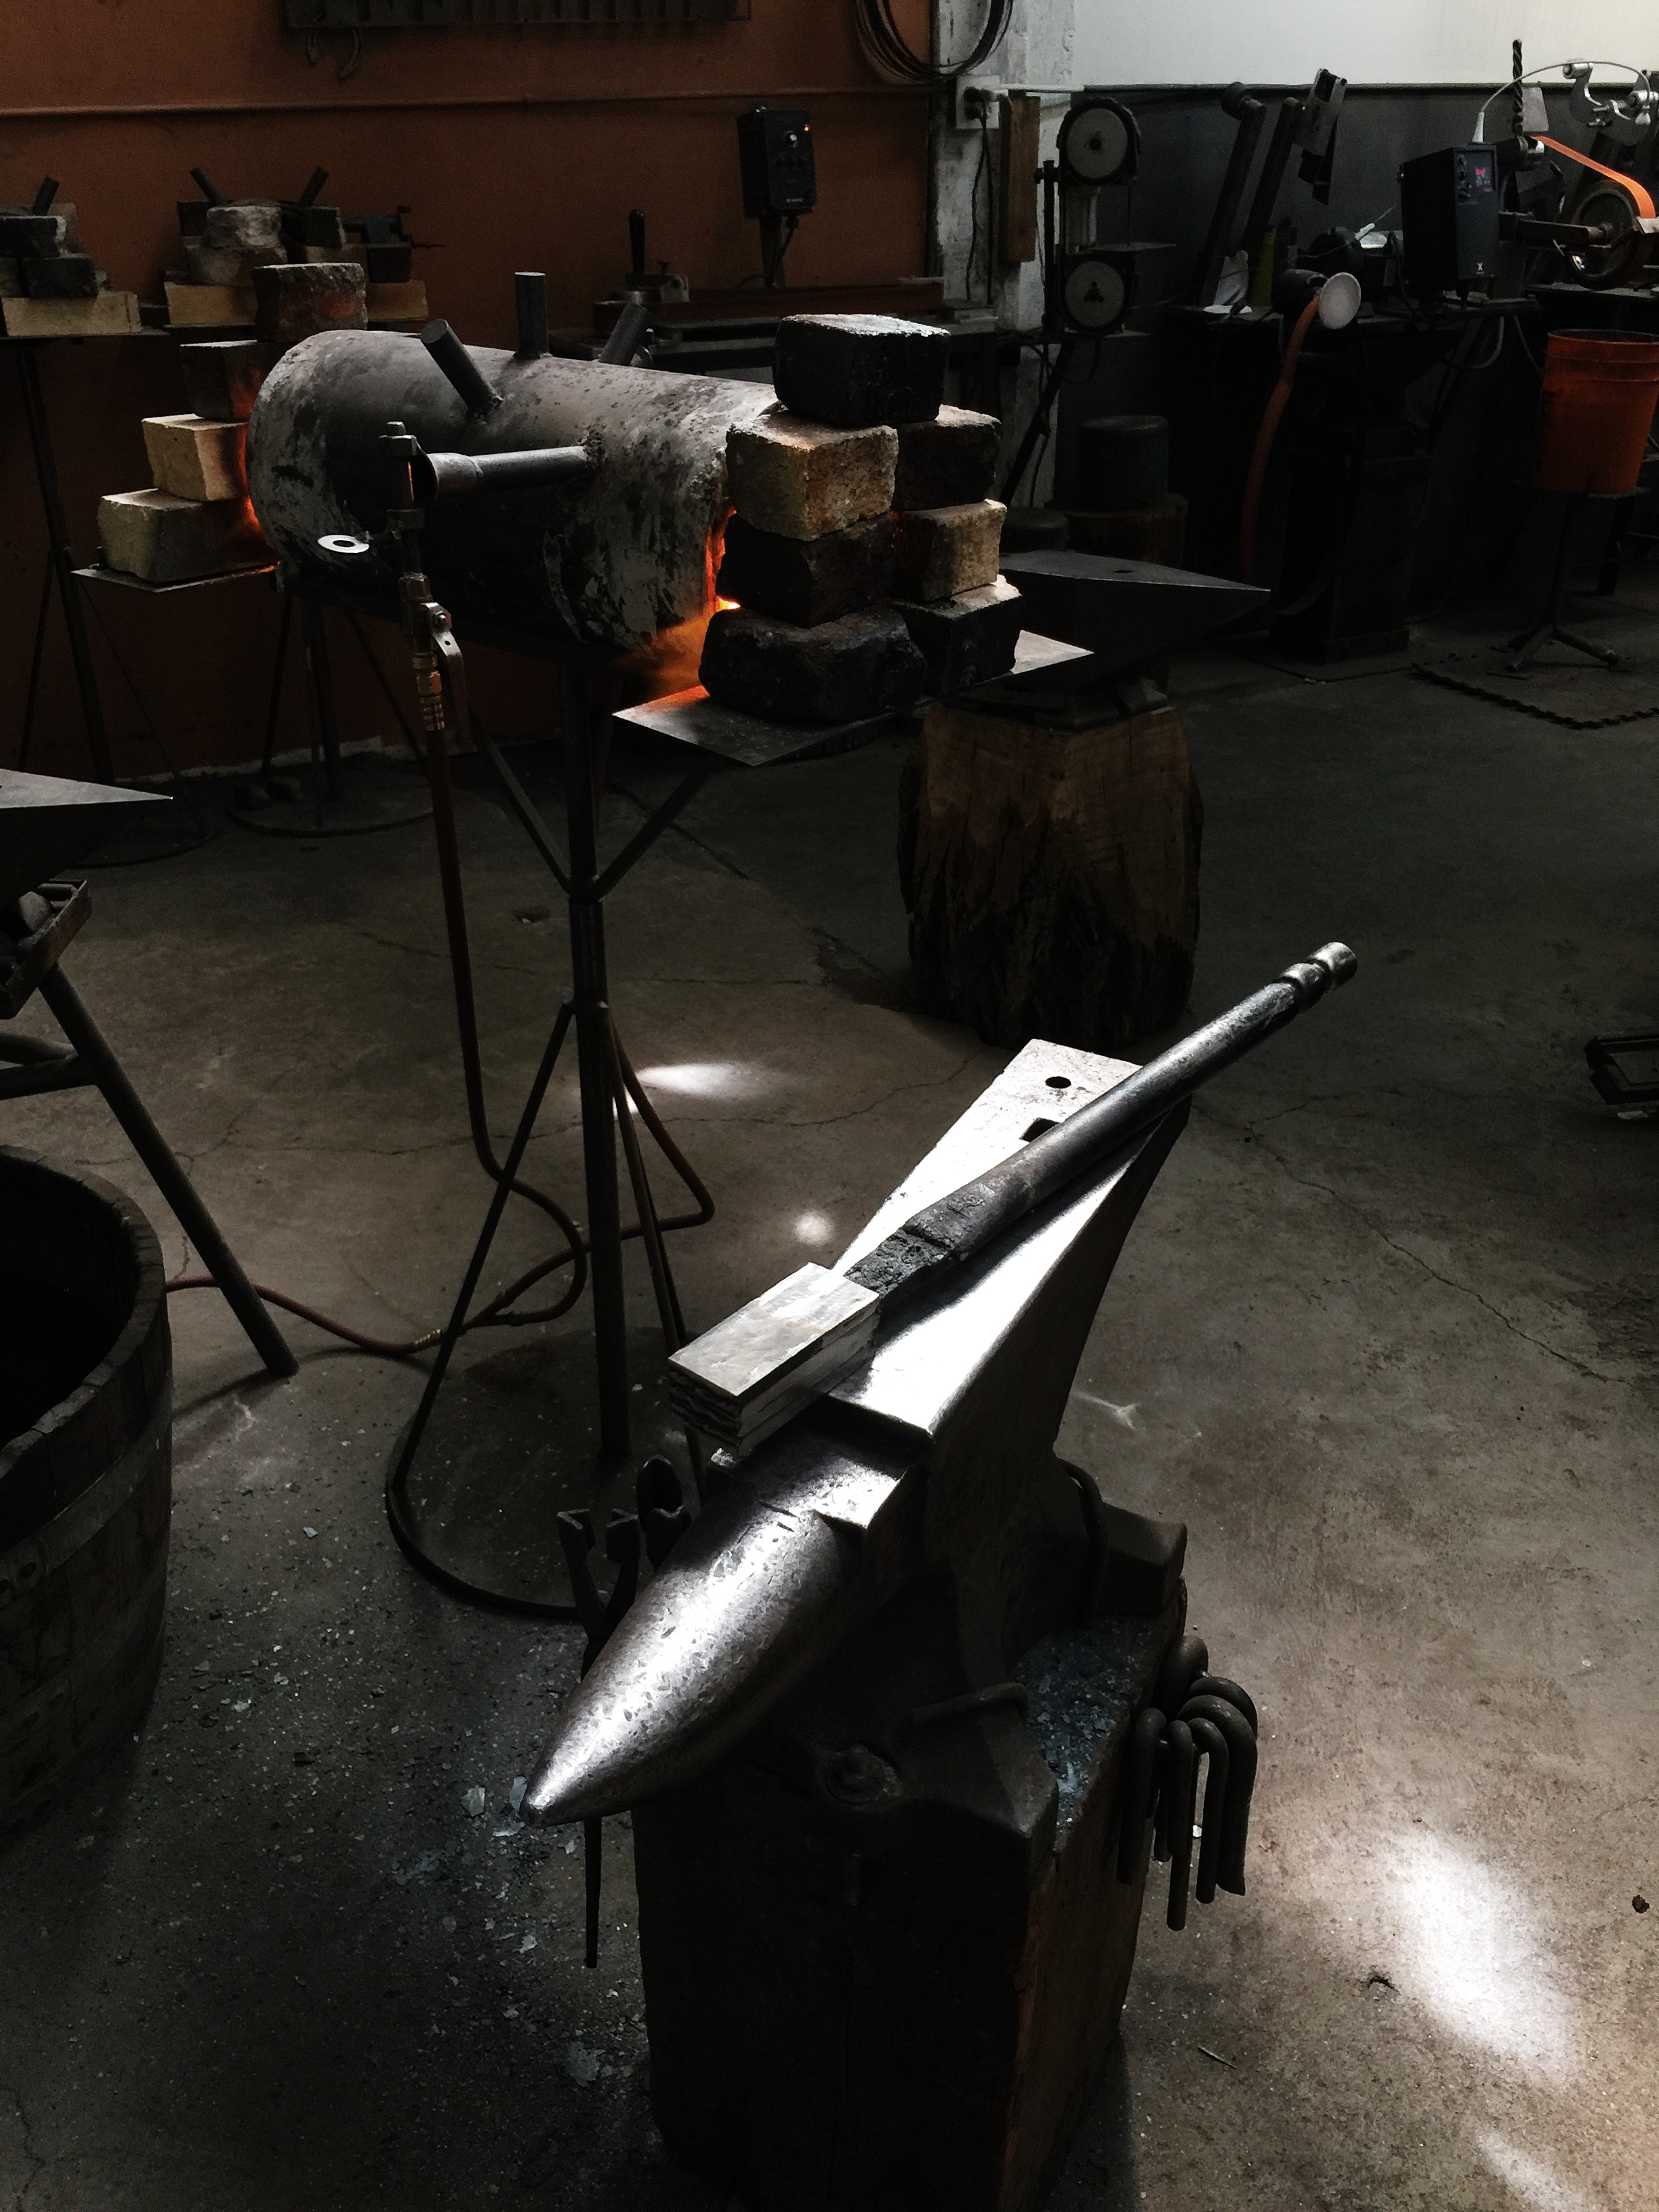
Early morning shop light.

Tap, tap, tap! Stacked steel prepped for welding. It's really important to make sure that these layers are clean of rust and other types of impurities. The vice helps eliminate any gaps before the weld.

First initial weld to hold all 41 layers of steel together.

Time to heat this entire chunk of steel up so that borax can be sprinkled on the main surface area.

The melted borax significantly helps wash out the oxides and other impurities. The goal is to have the cleanest possible forge weld on this first pass.
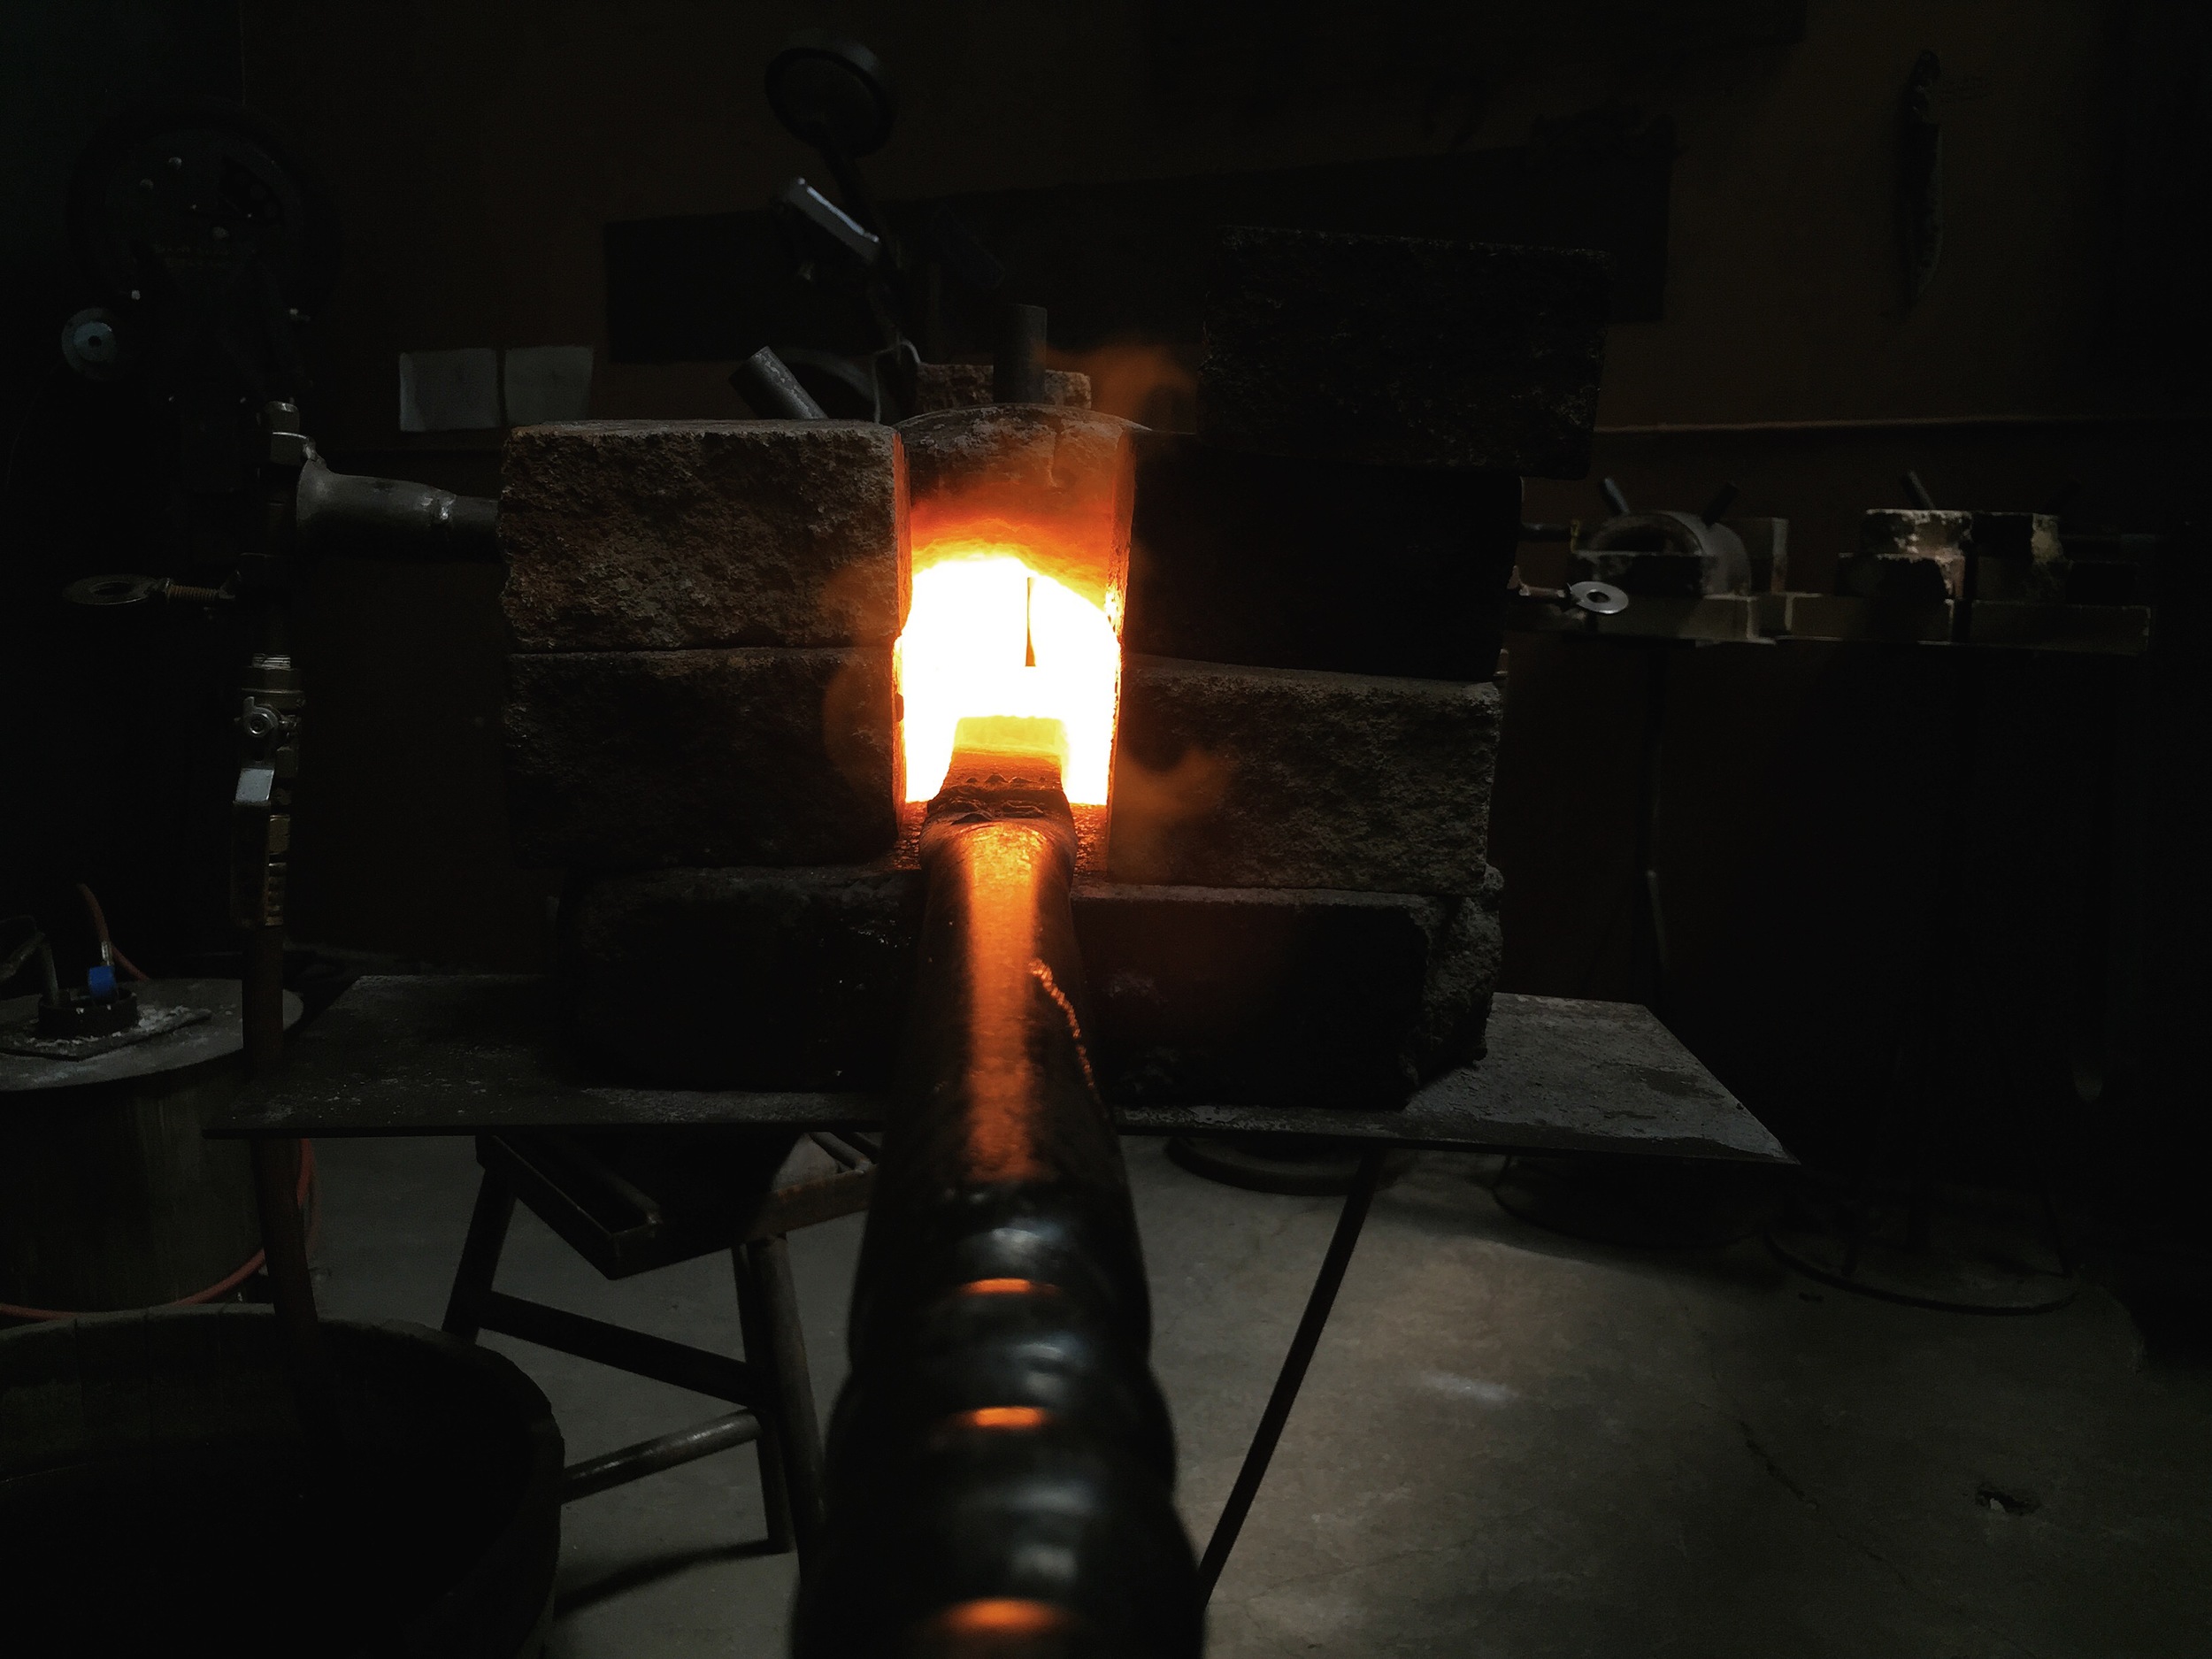
Back into the forge.
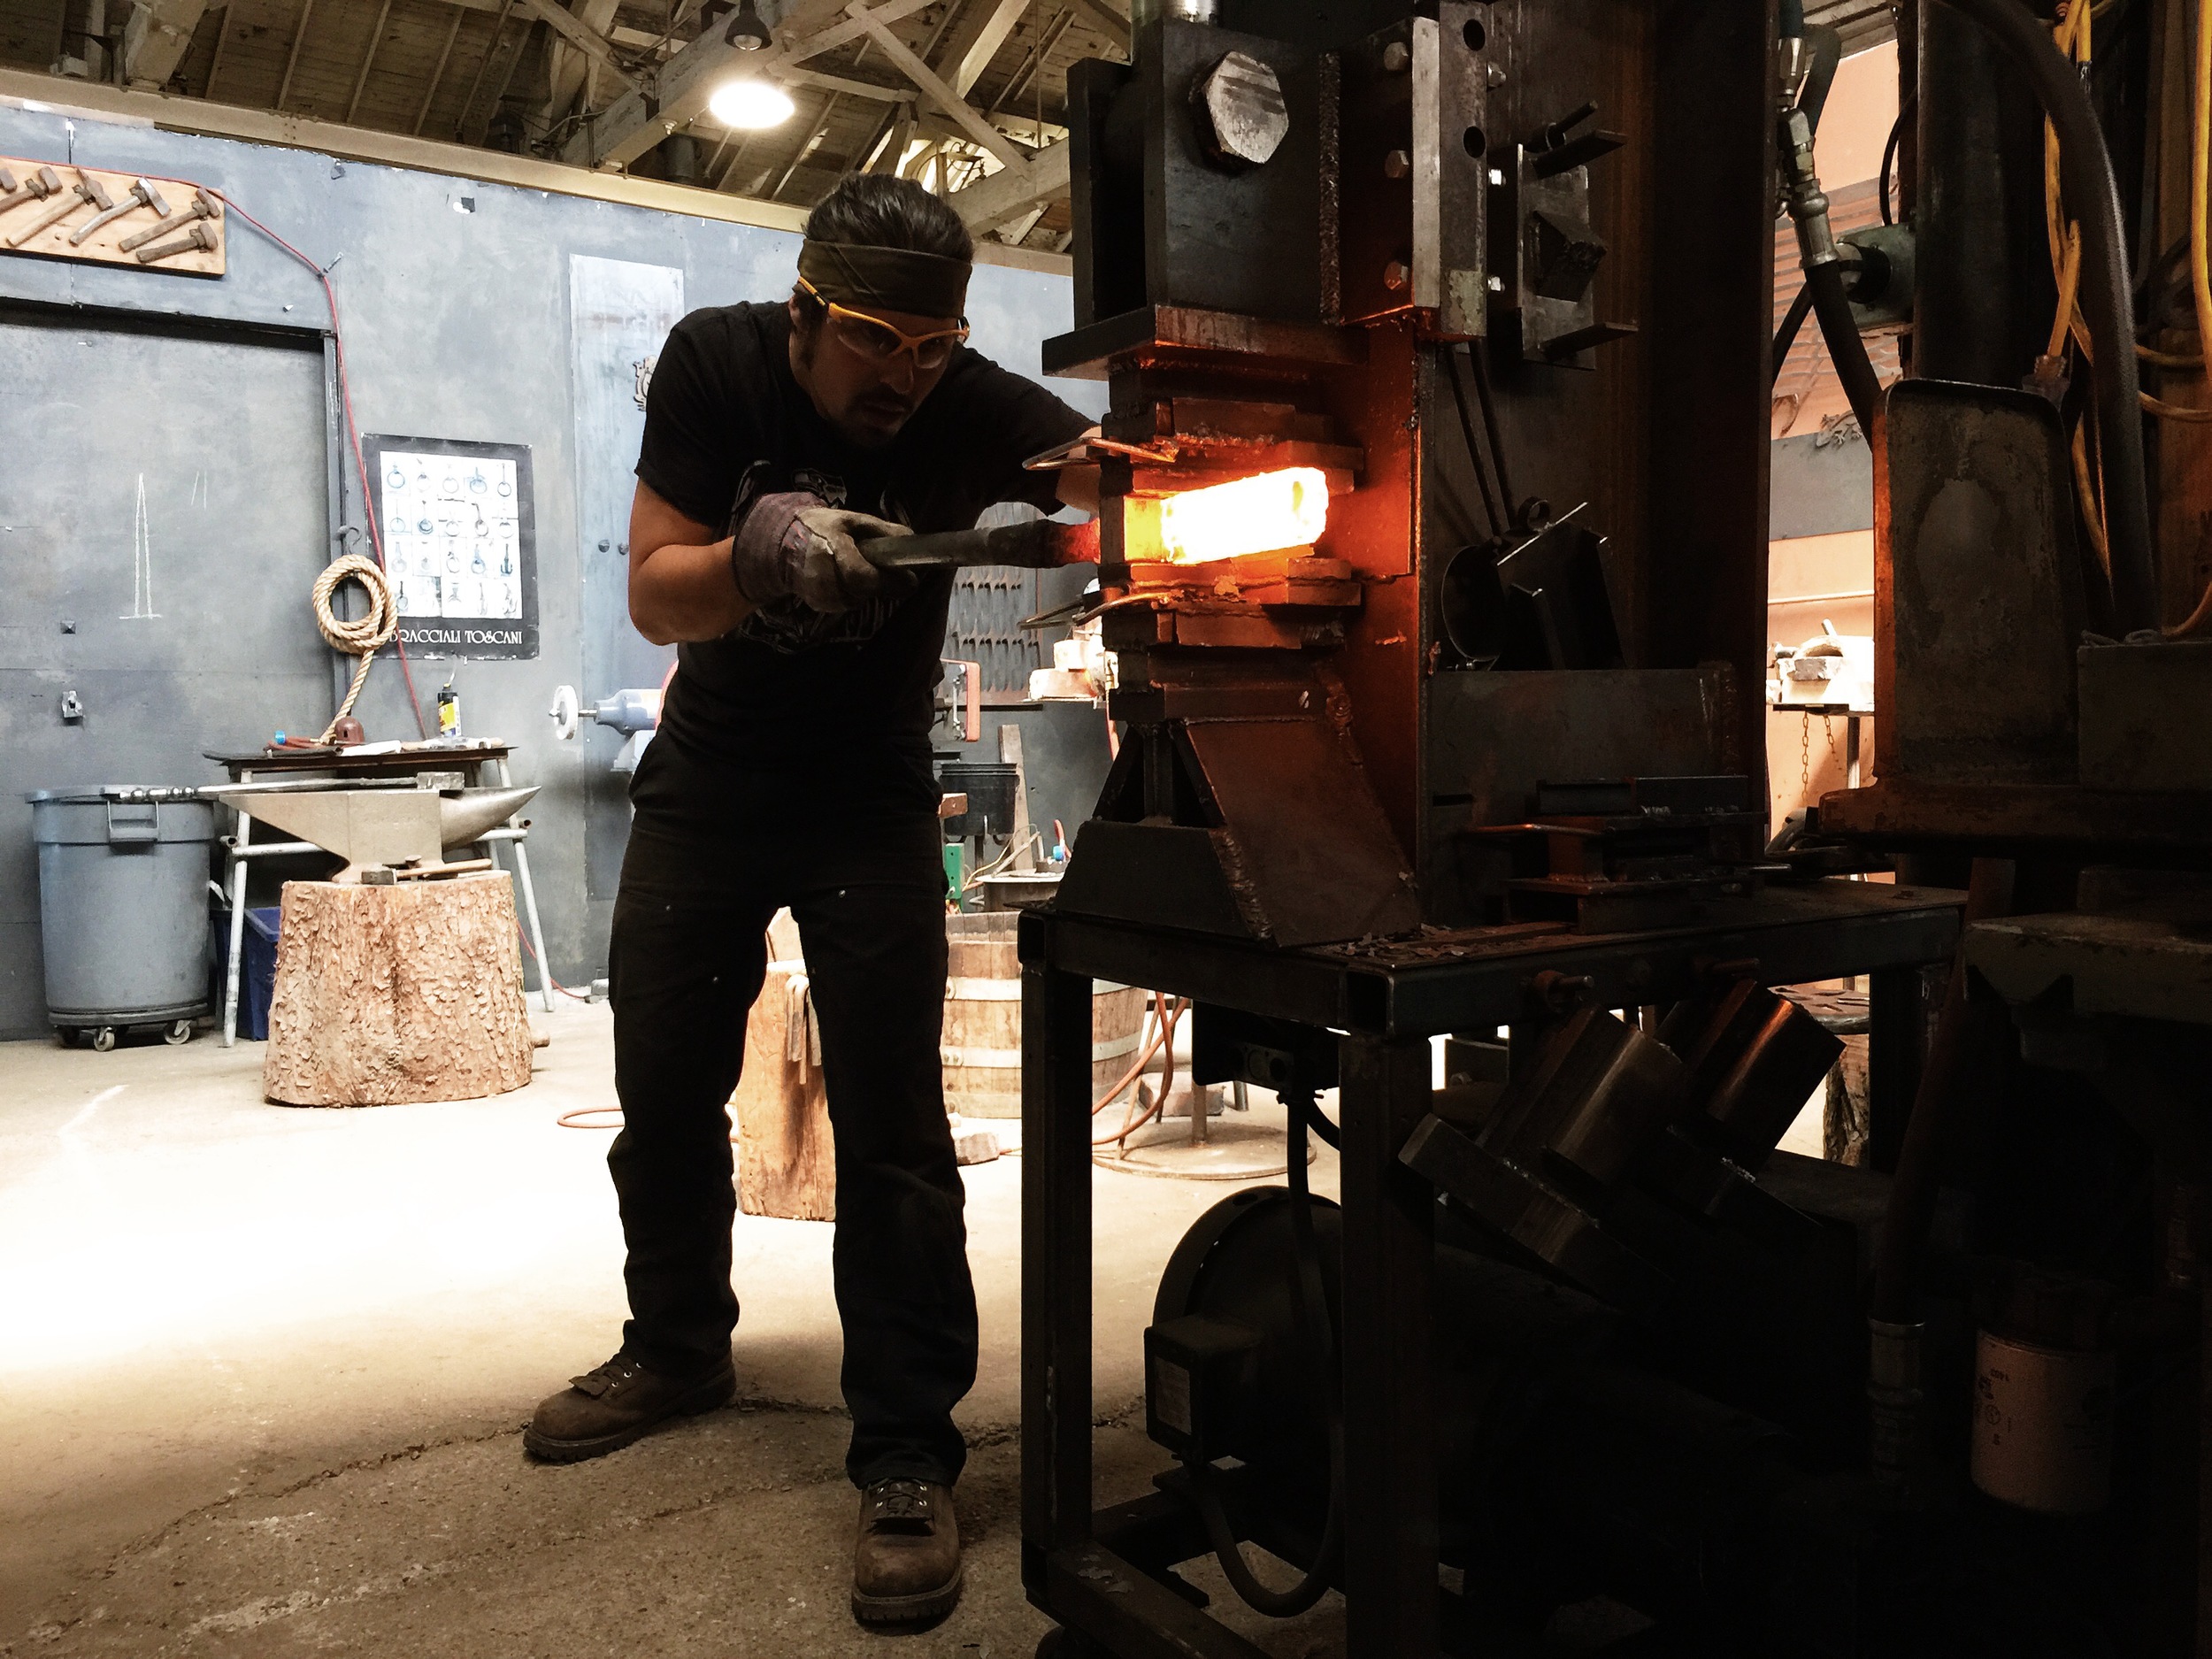
Now it's time to forge weld. Taking things nice and easy and making sure the steel stays hot is crucial.


After each pass under the hydraulic press, the old scale or slag must be scraped off before going back into the forge. (Goes without saying, proper eyewear and gloves should be worn at all times.)
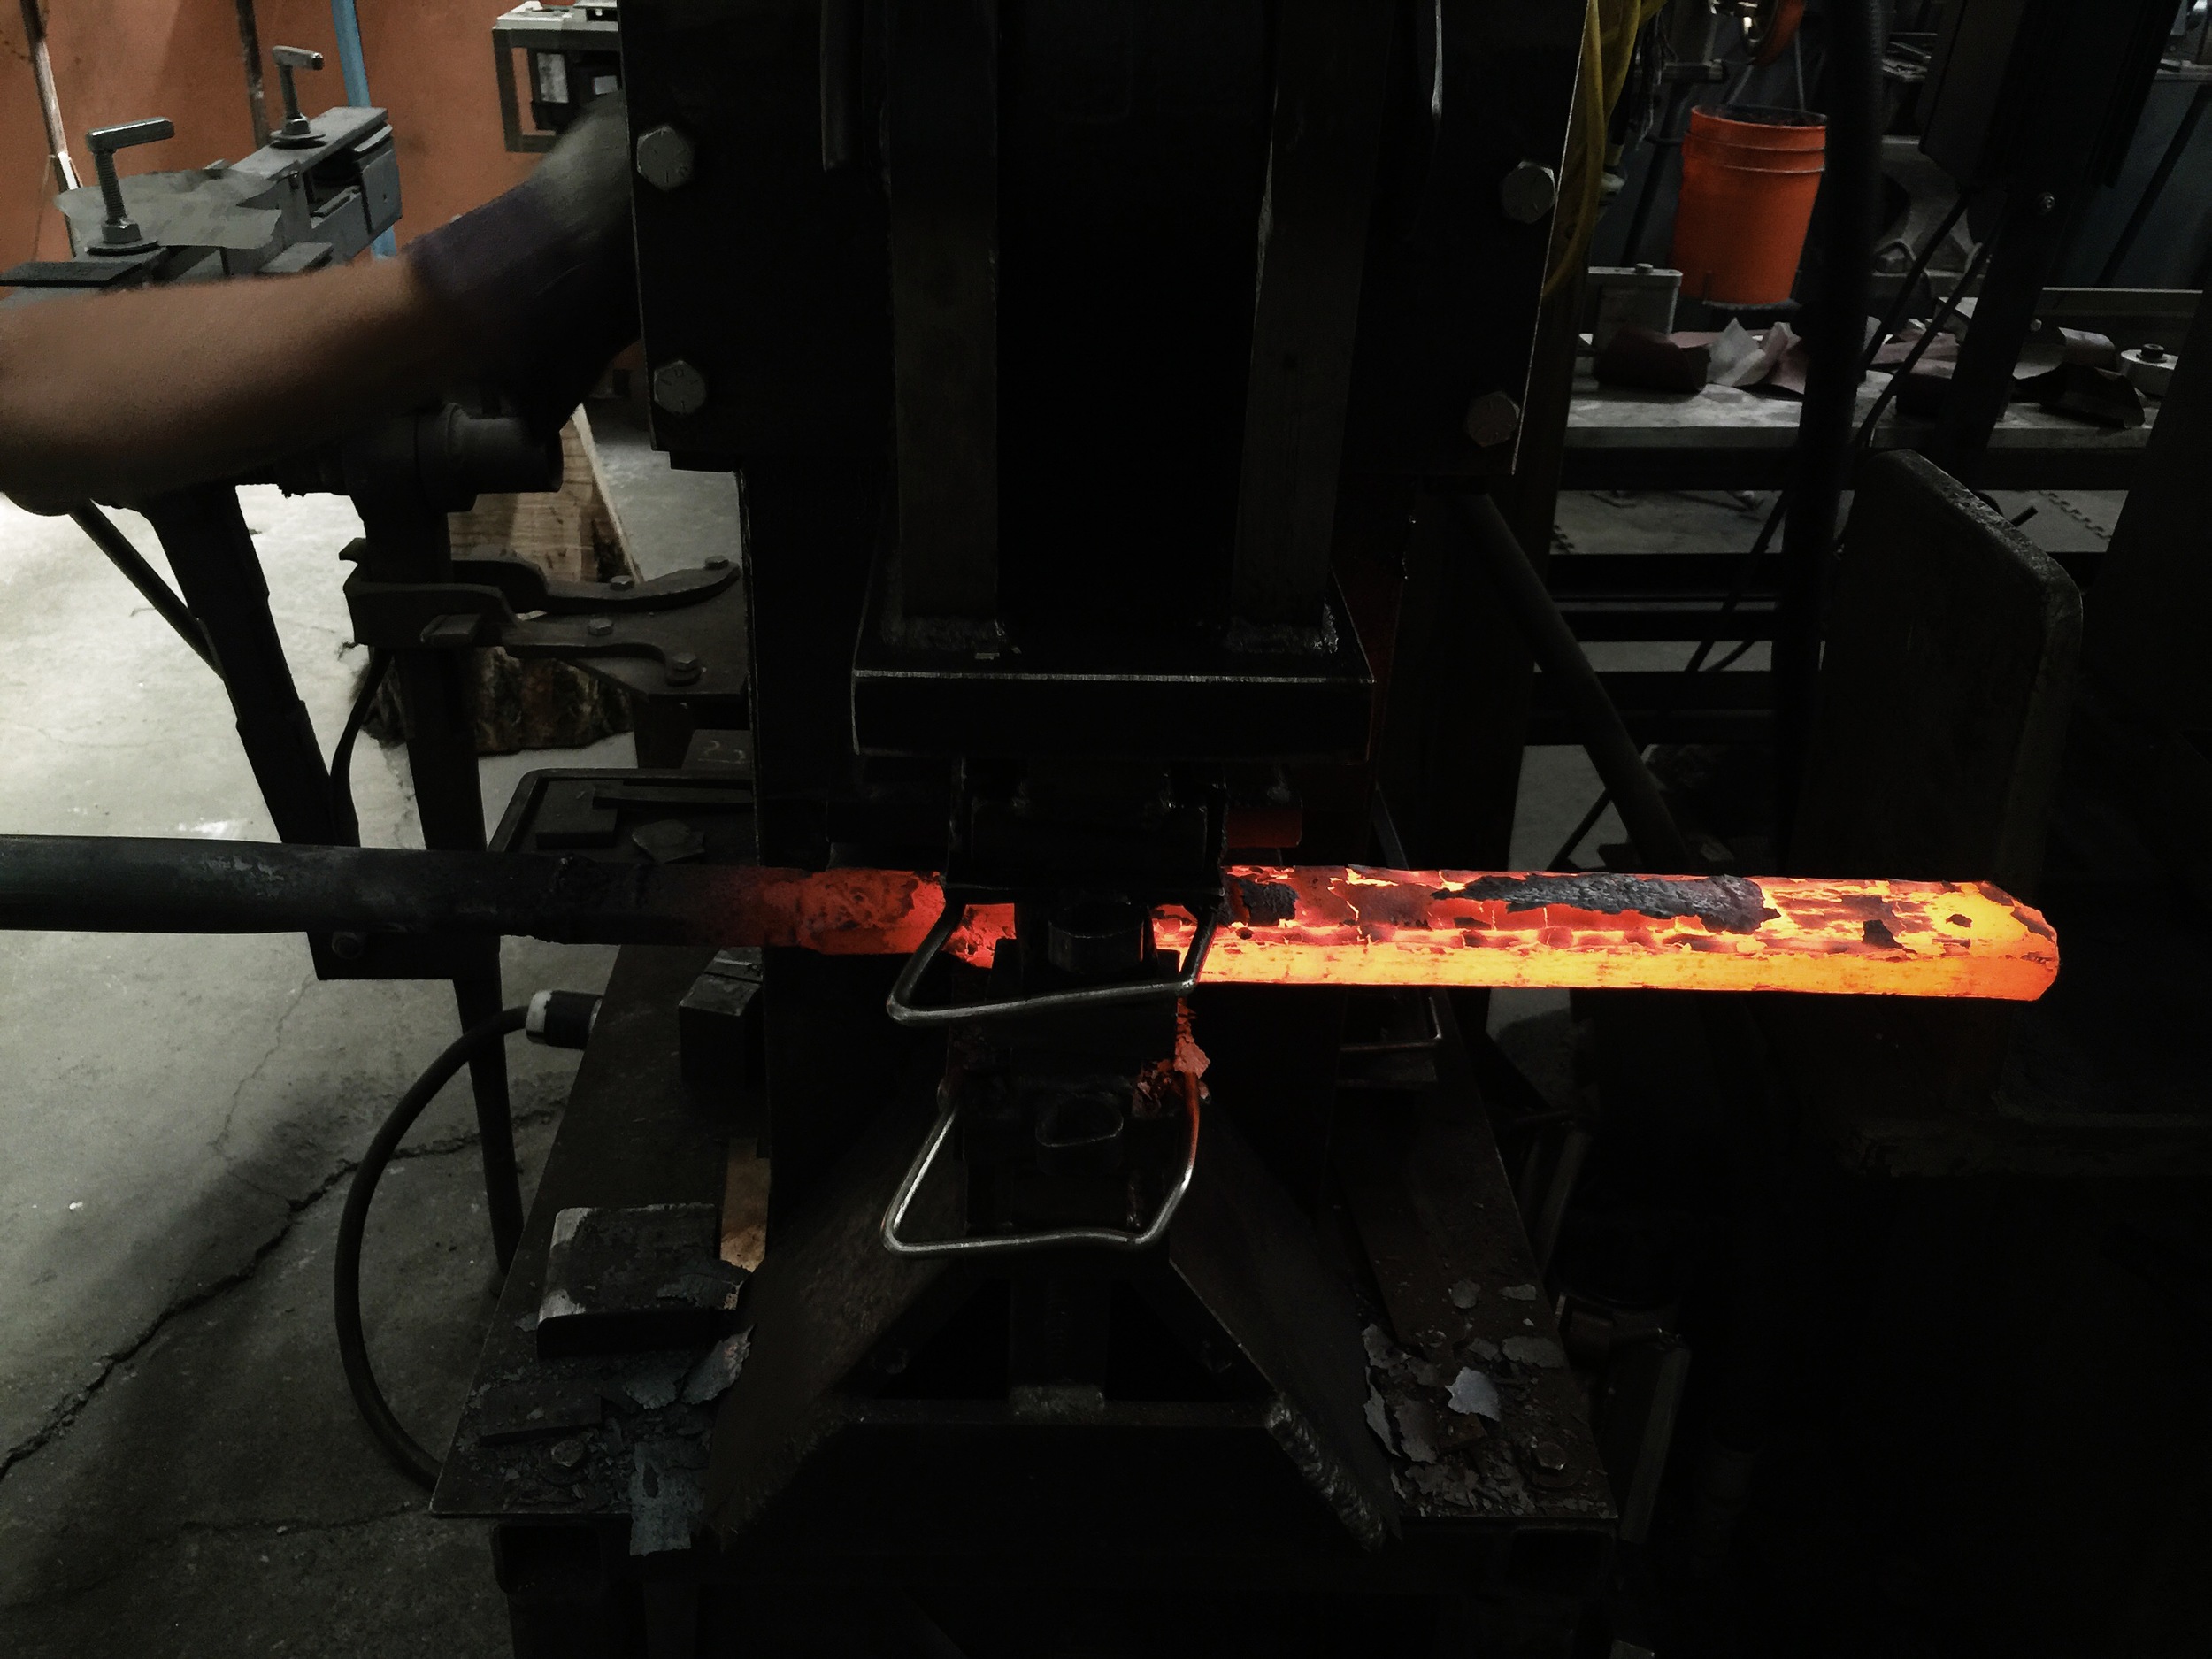
Once your forge weld is good, it's time to begin stretching out the billet. This is done so it can be cut into even chunks, stacked and welded together so the whole process can begin again.

Bhakti inspecting the billet to make sure it has proper form before letting it cool down.

Bhakti's billet (left) and mine (right). We aimed to do achieve a laddered W pattern with this project.
Surface grinding before cutting the billet into equal parts. Afterwards the pieces are cleaned up even more individually on a belt grinder.
First cut.
Measuring the 2nd and 3rd cut.
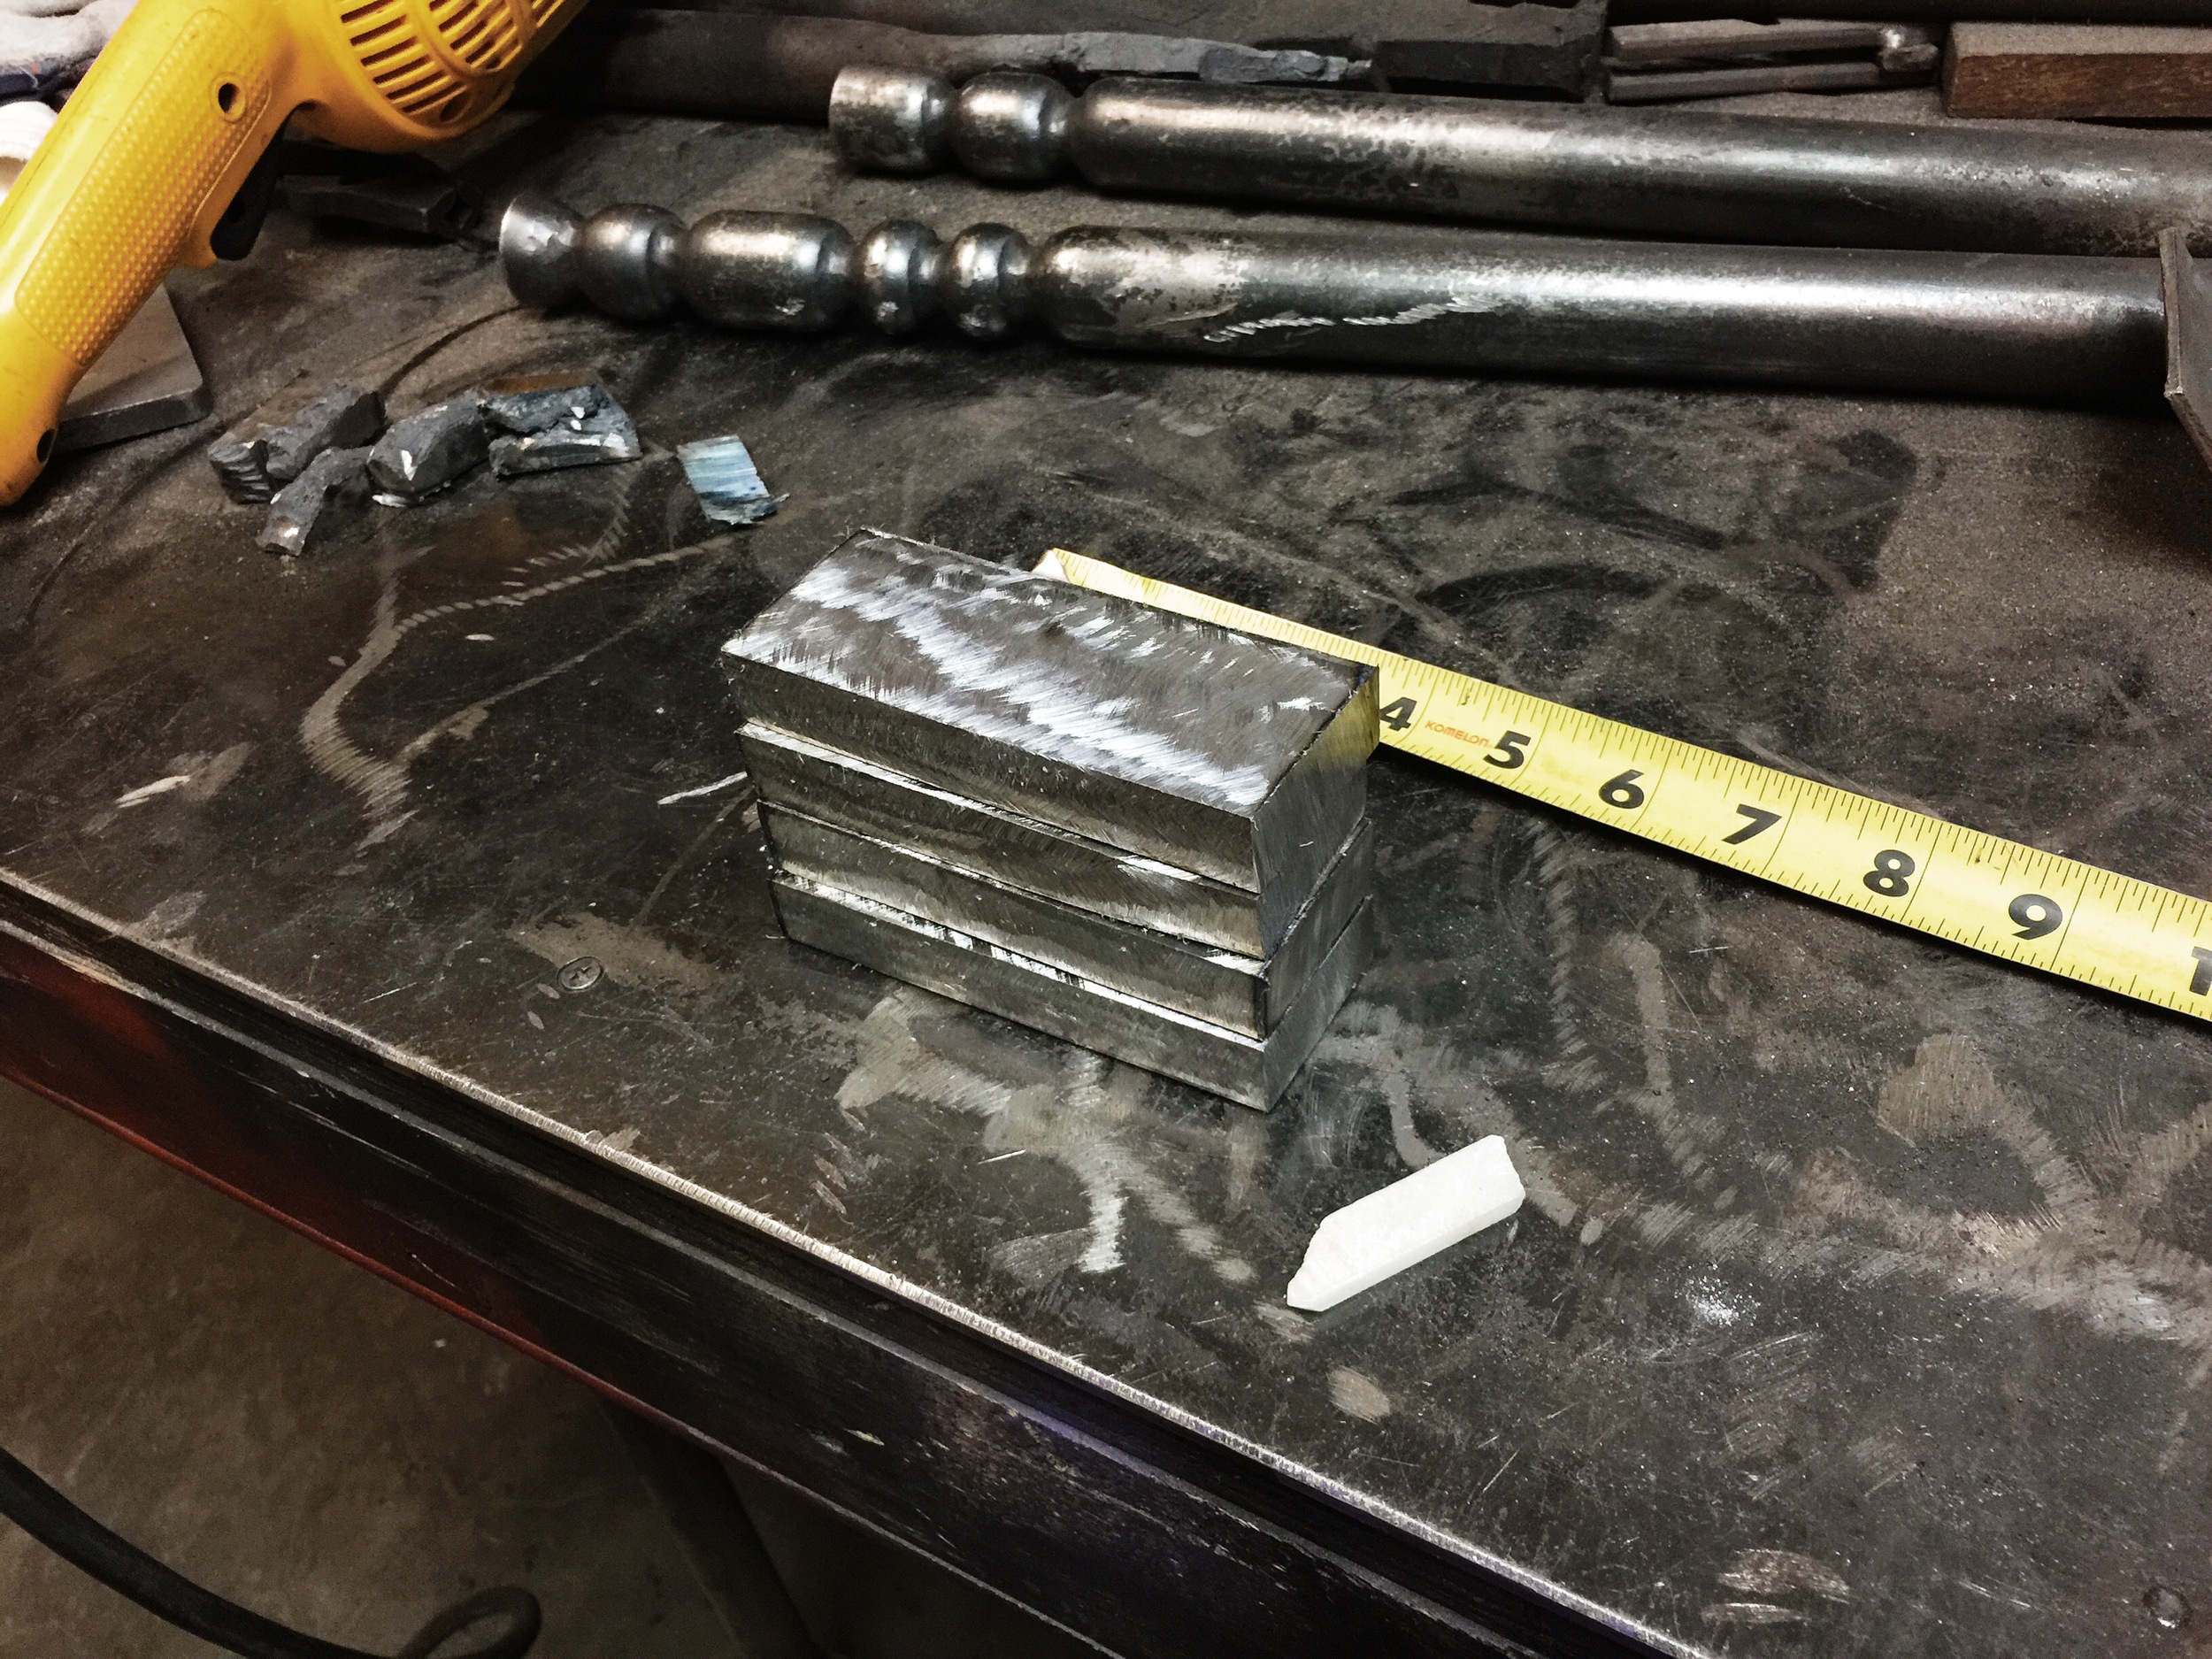
Stacked and ready for another weld to hold them all in place.

Ready to go back into the forge.
Quick math so far on this billet:
41 original layers
forged into 1 billet that was cut and stacked into 4 equal layers
after today, the billet will be
164 layers thick

Starting all over again, just like like the first time.

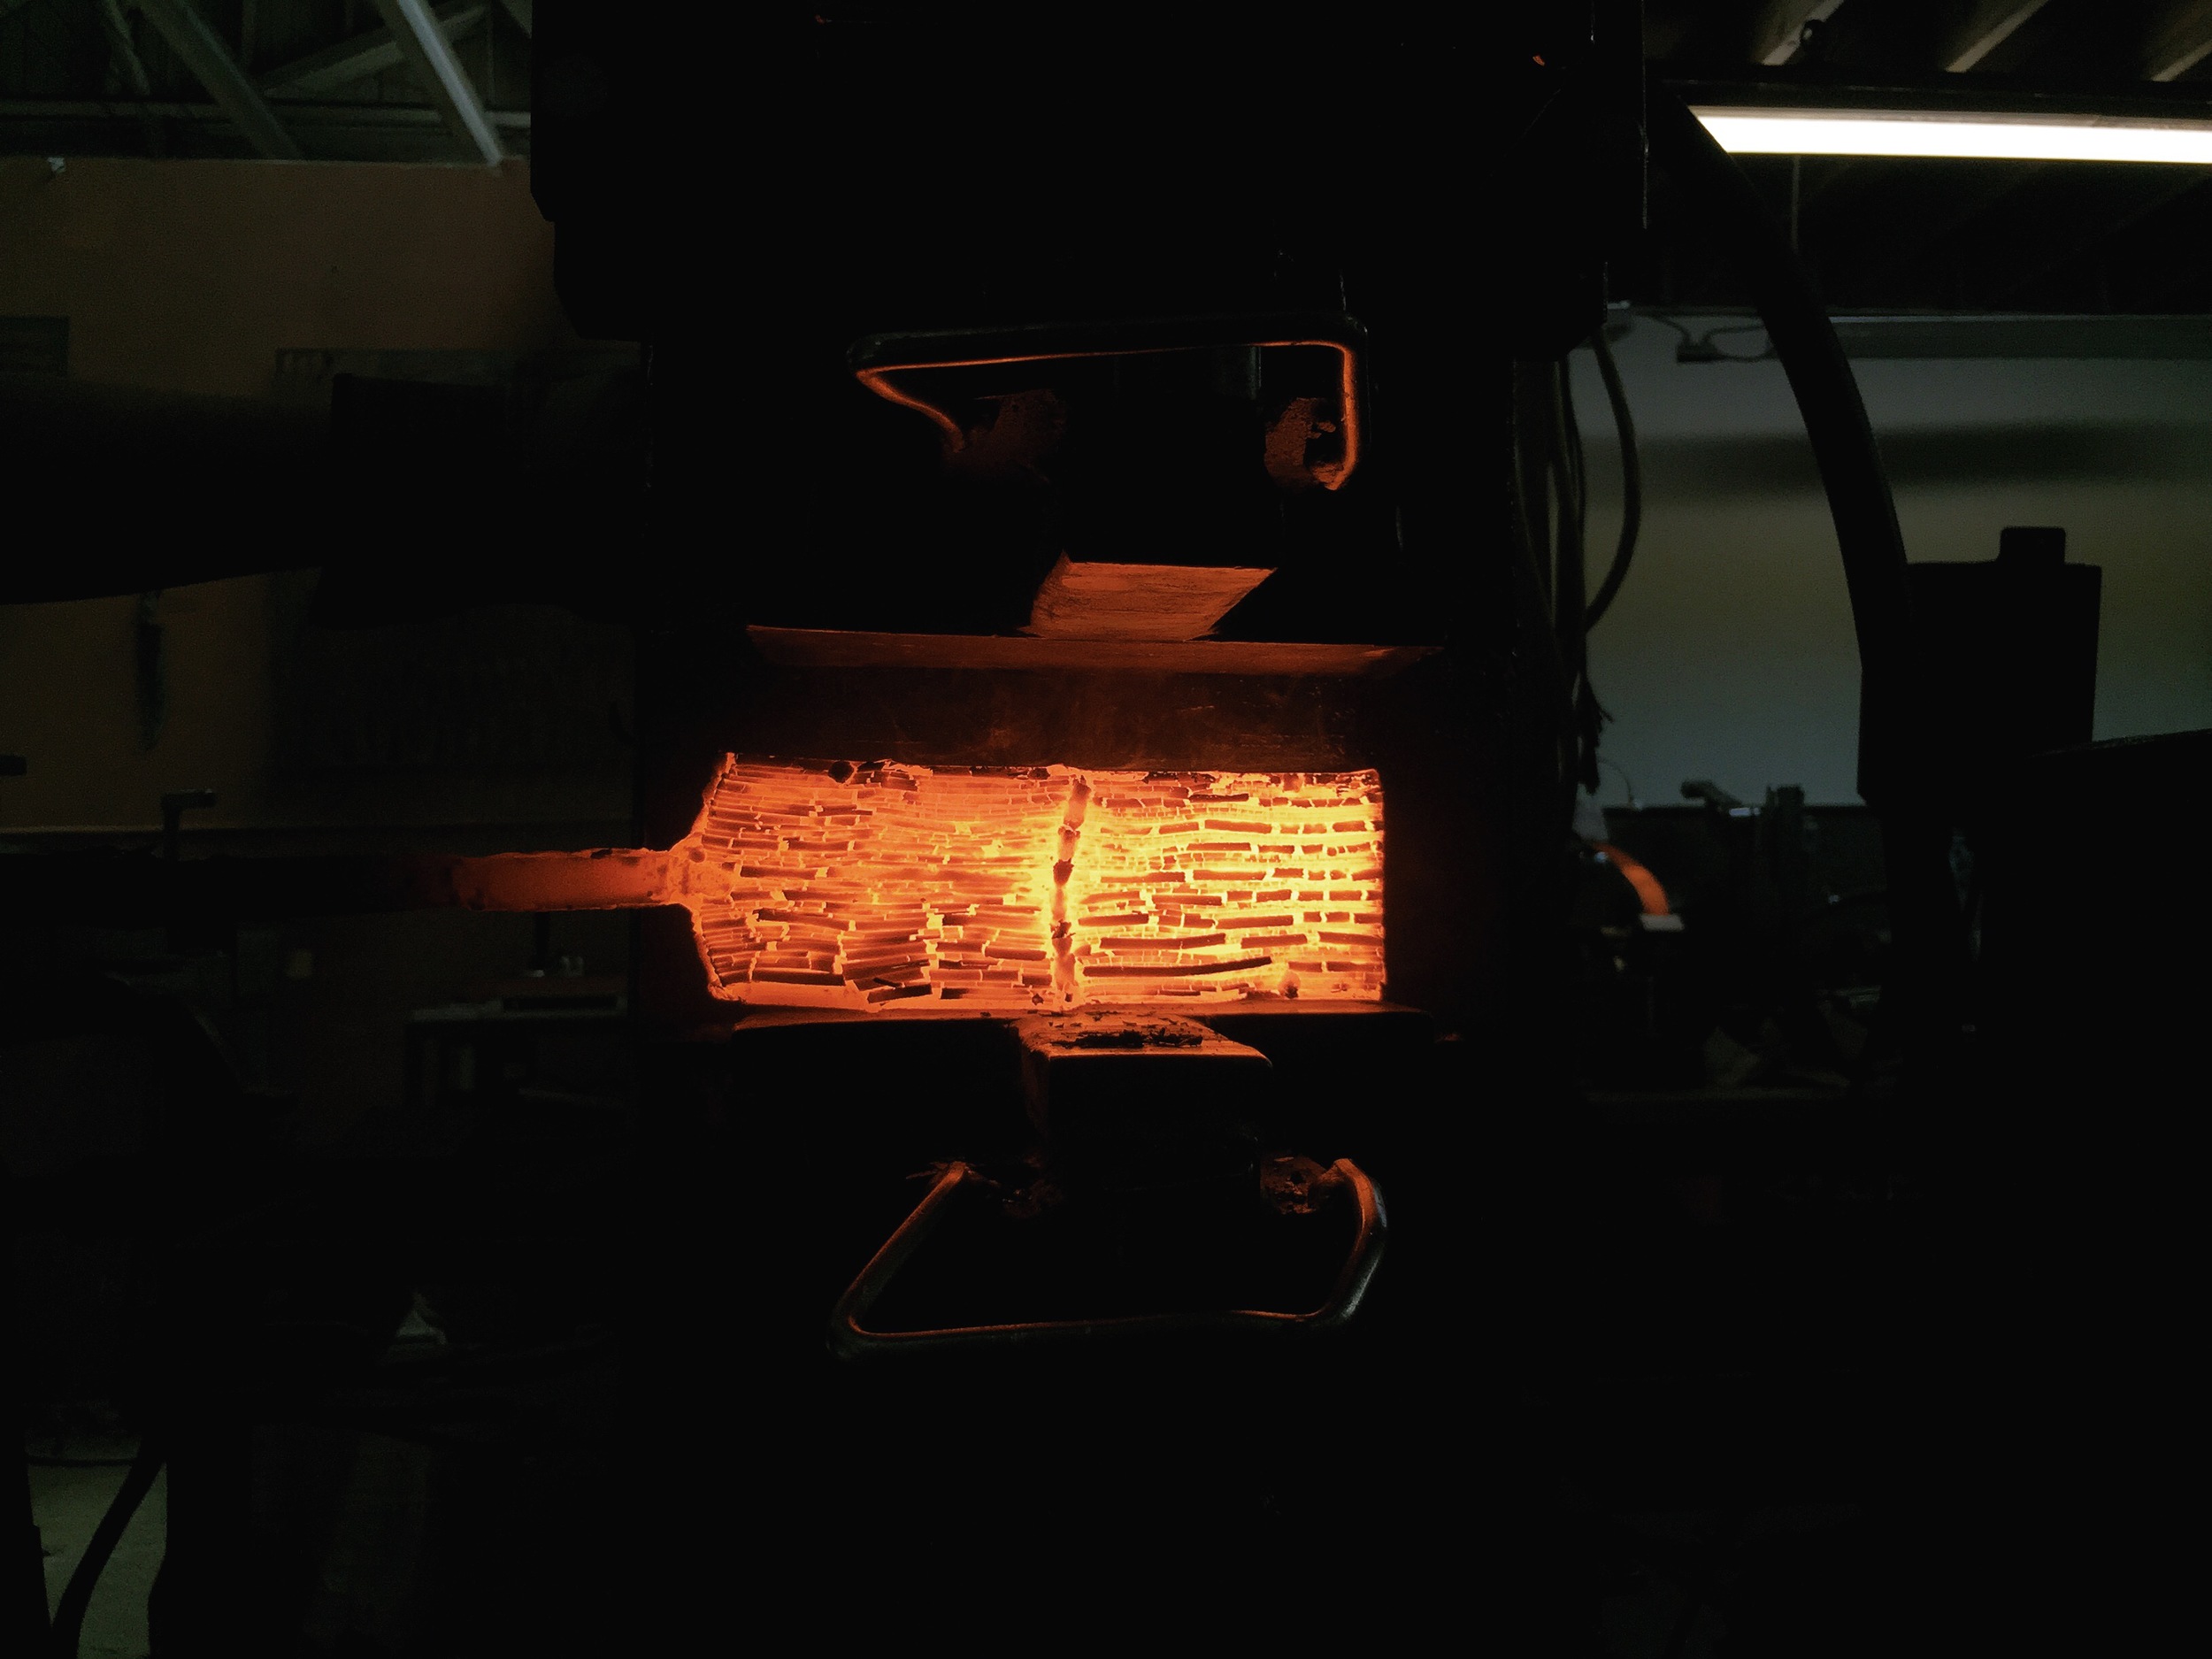
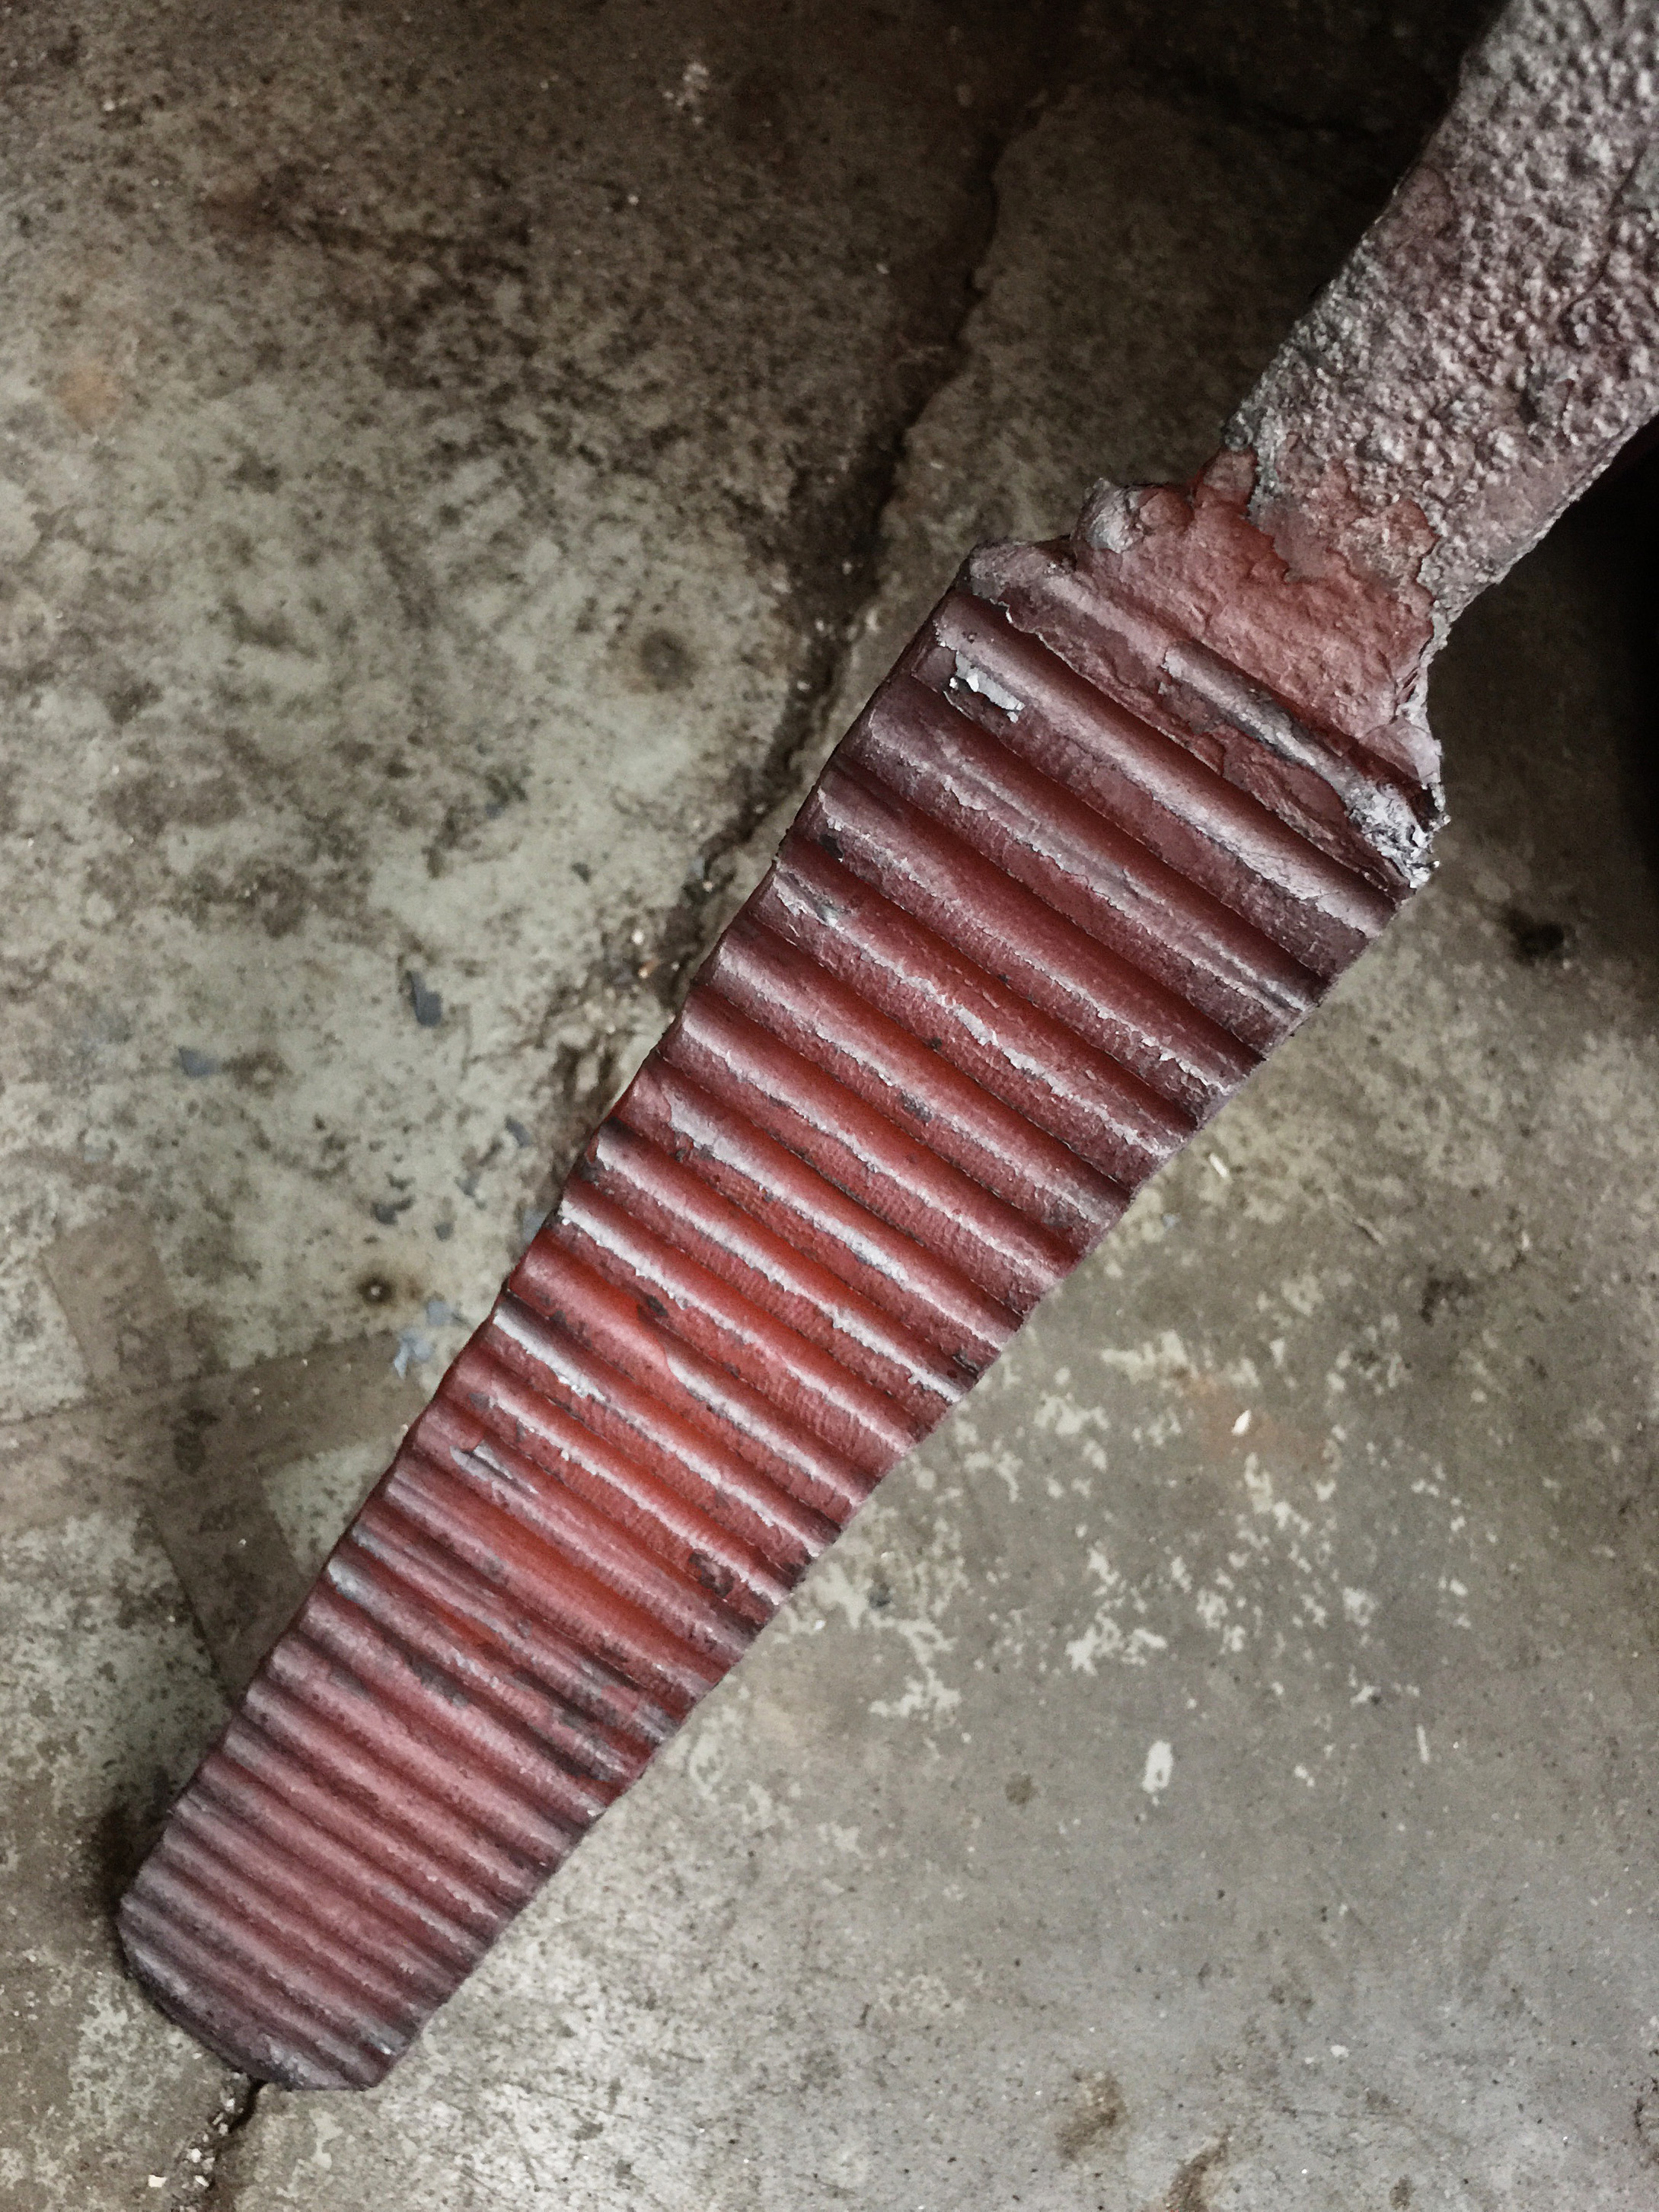
Introducing pressure on the corners and certain areas helps set the stage for the pattern we want to achieve in our final piece.


Like woodgrains, the steel begins to show beautiful distinctive layers.
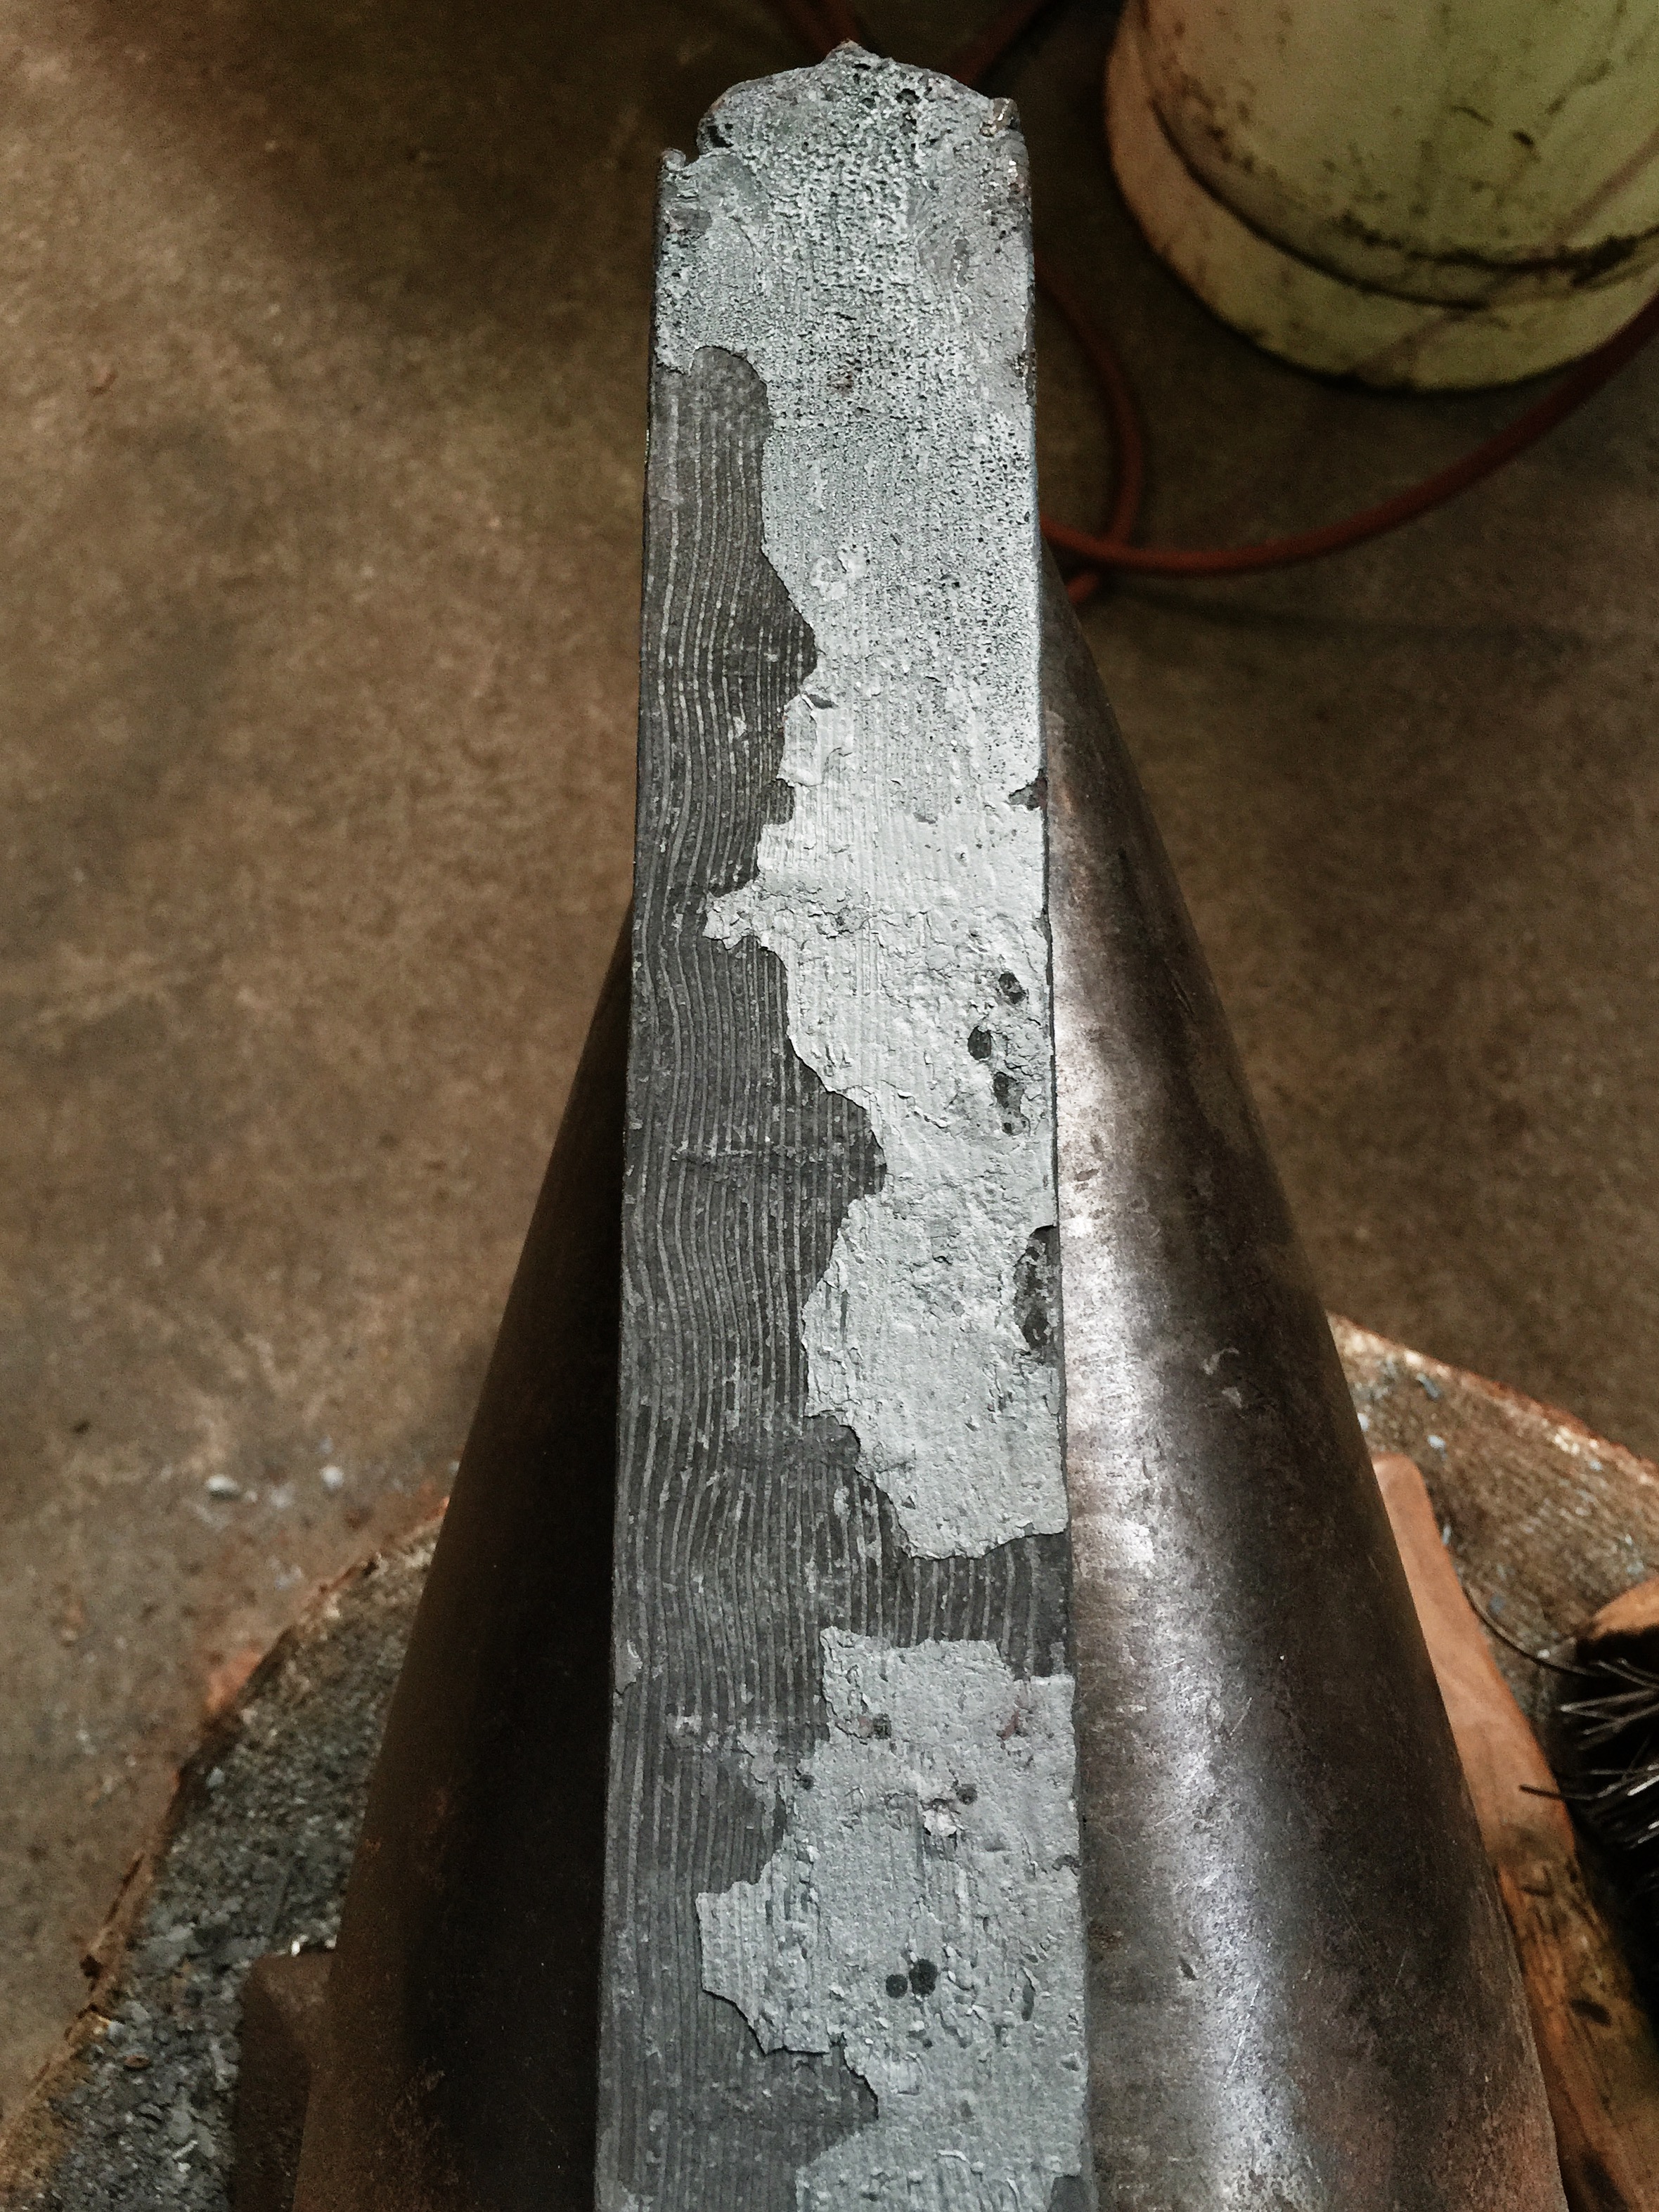
Time to let the billet cool down again before starting the process all over once more.
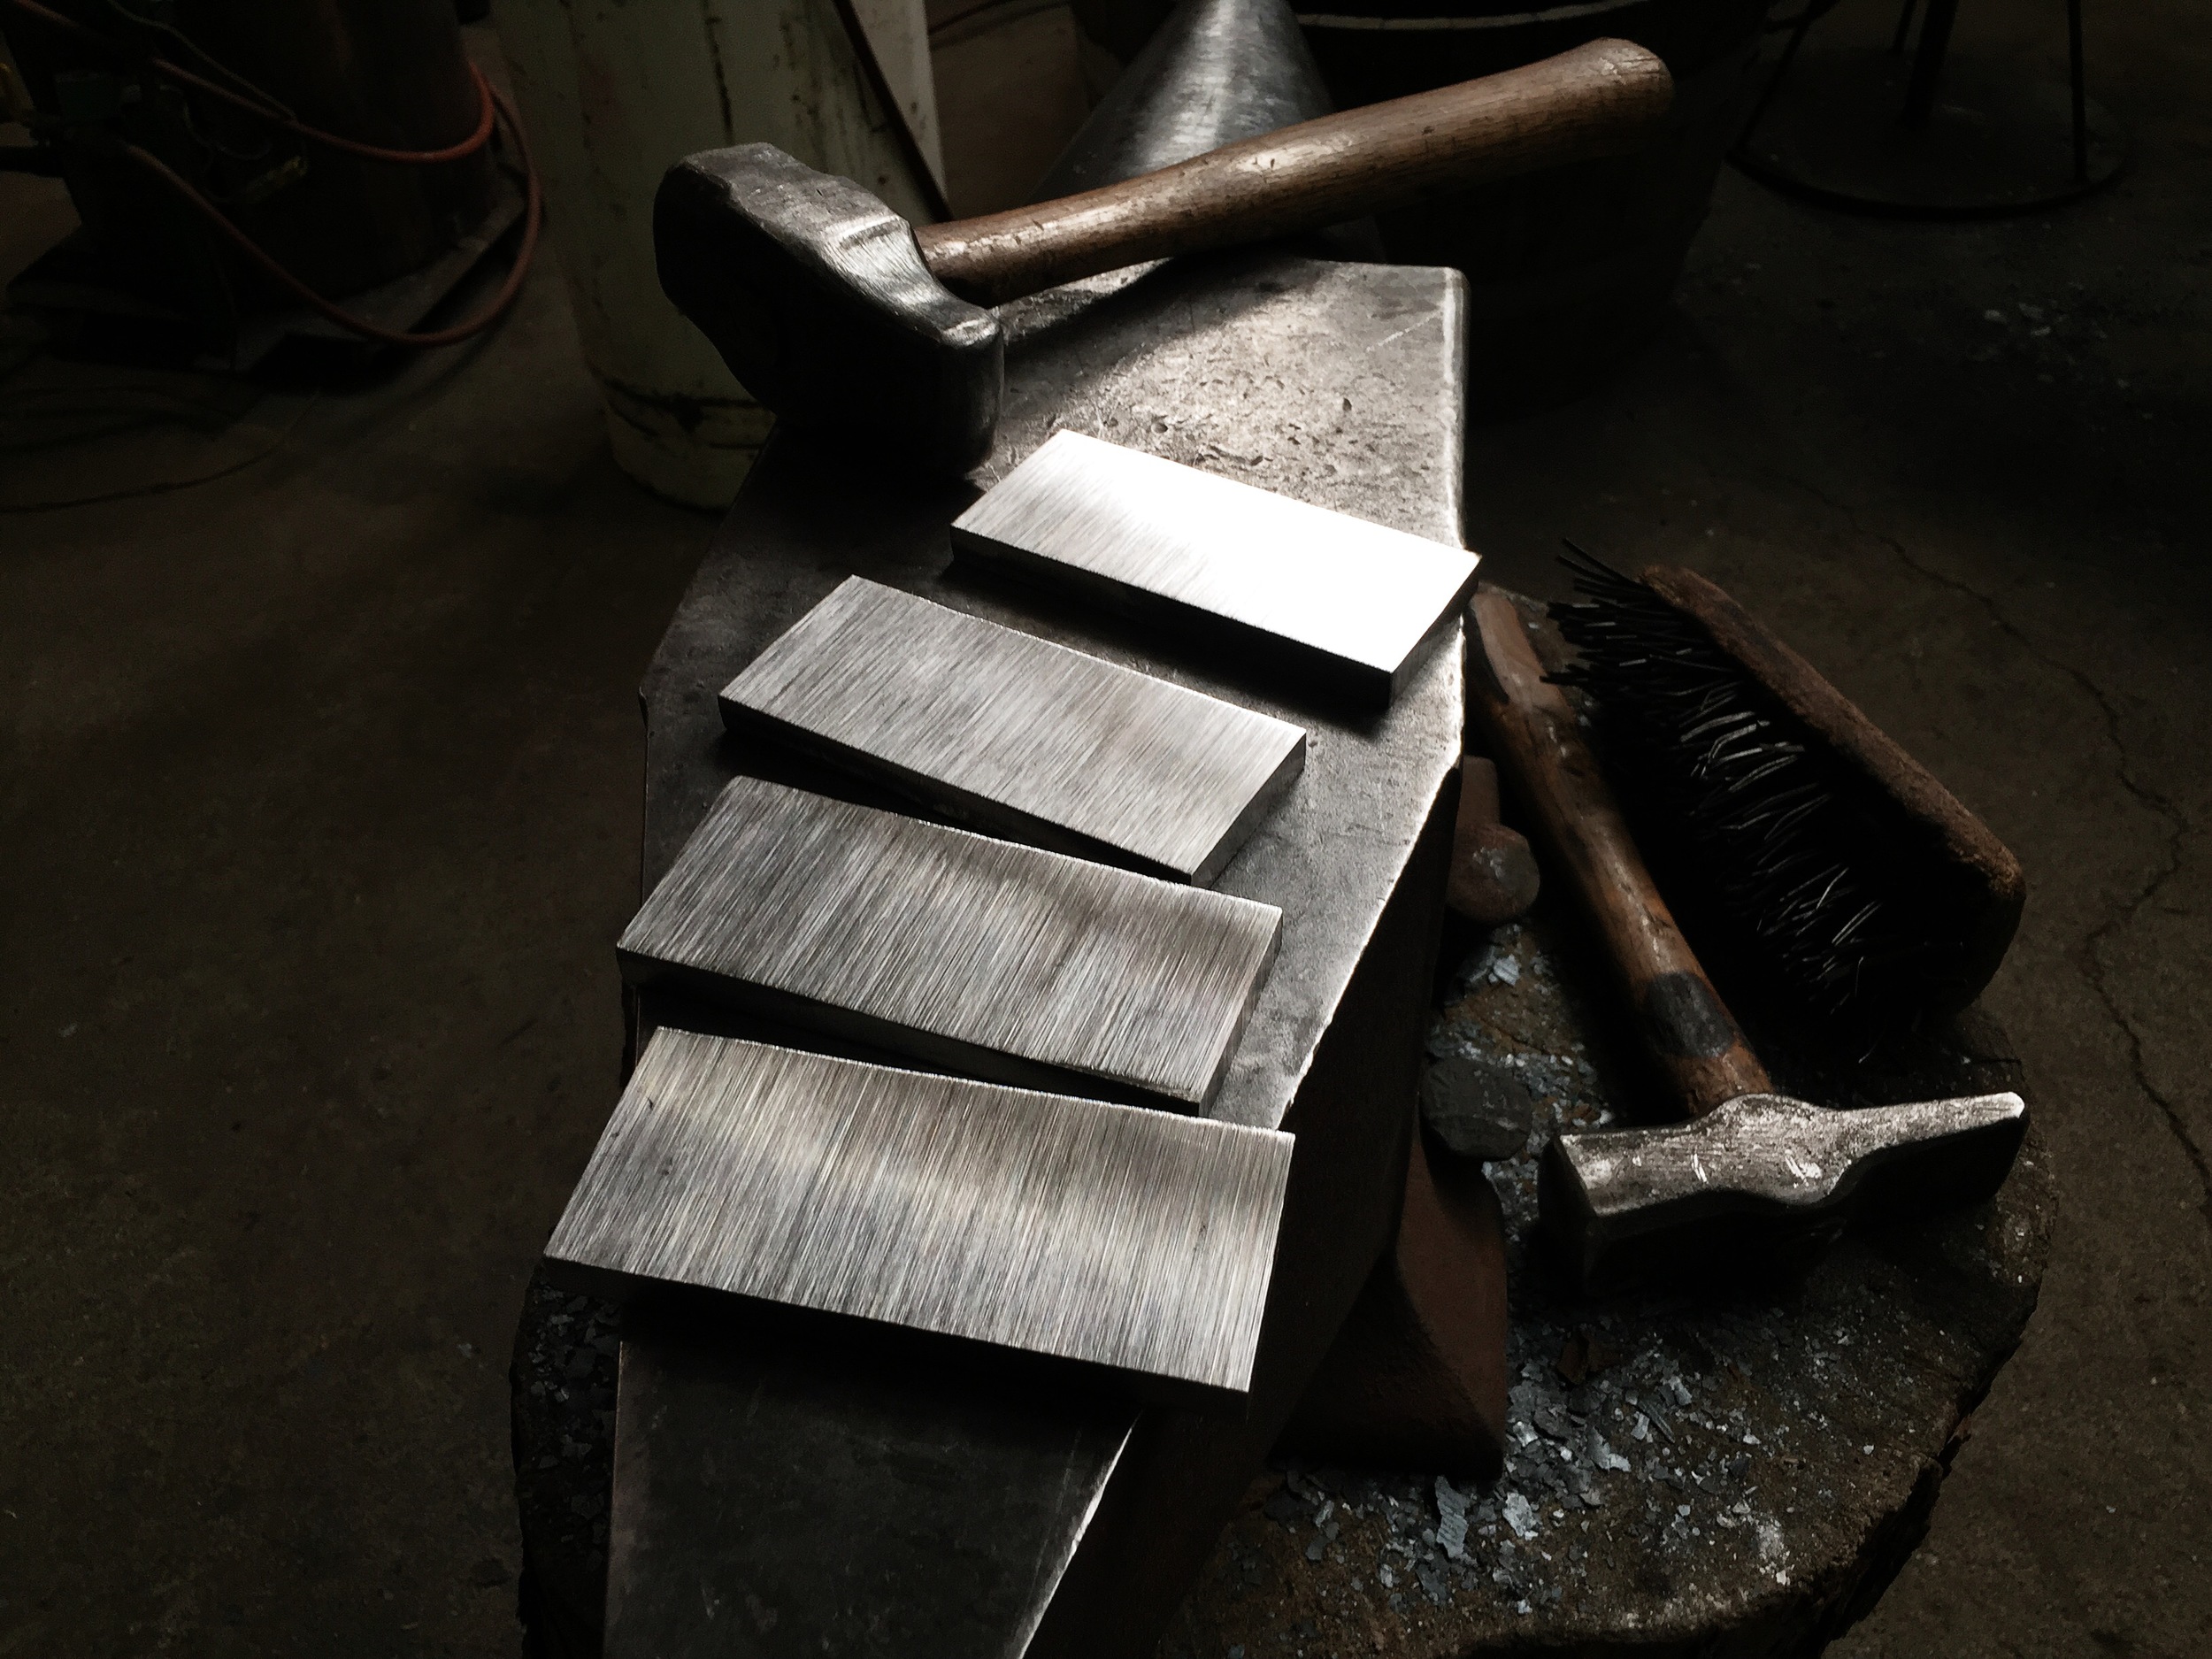
Cut into 4 equal pieces and after being cleaned up on a belt grinder.
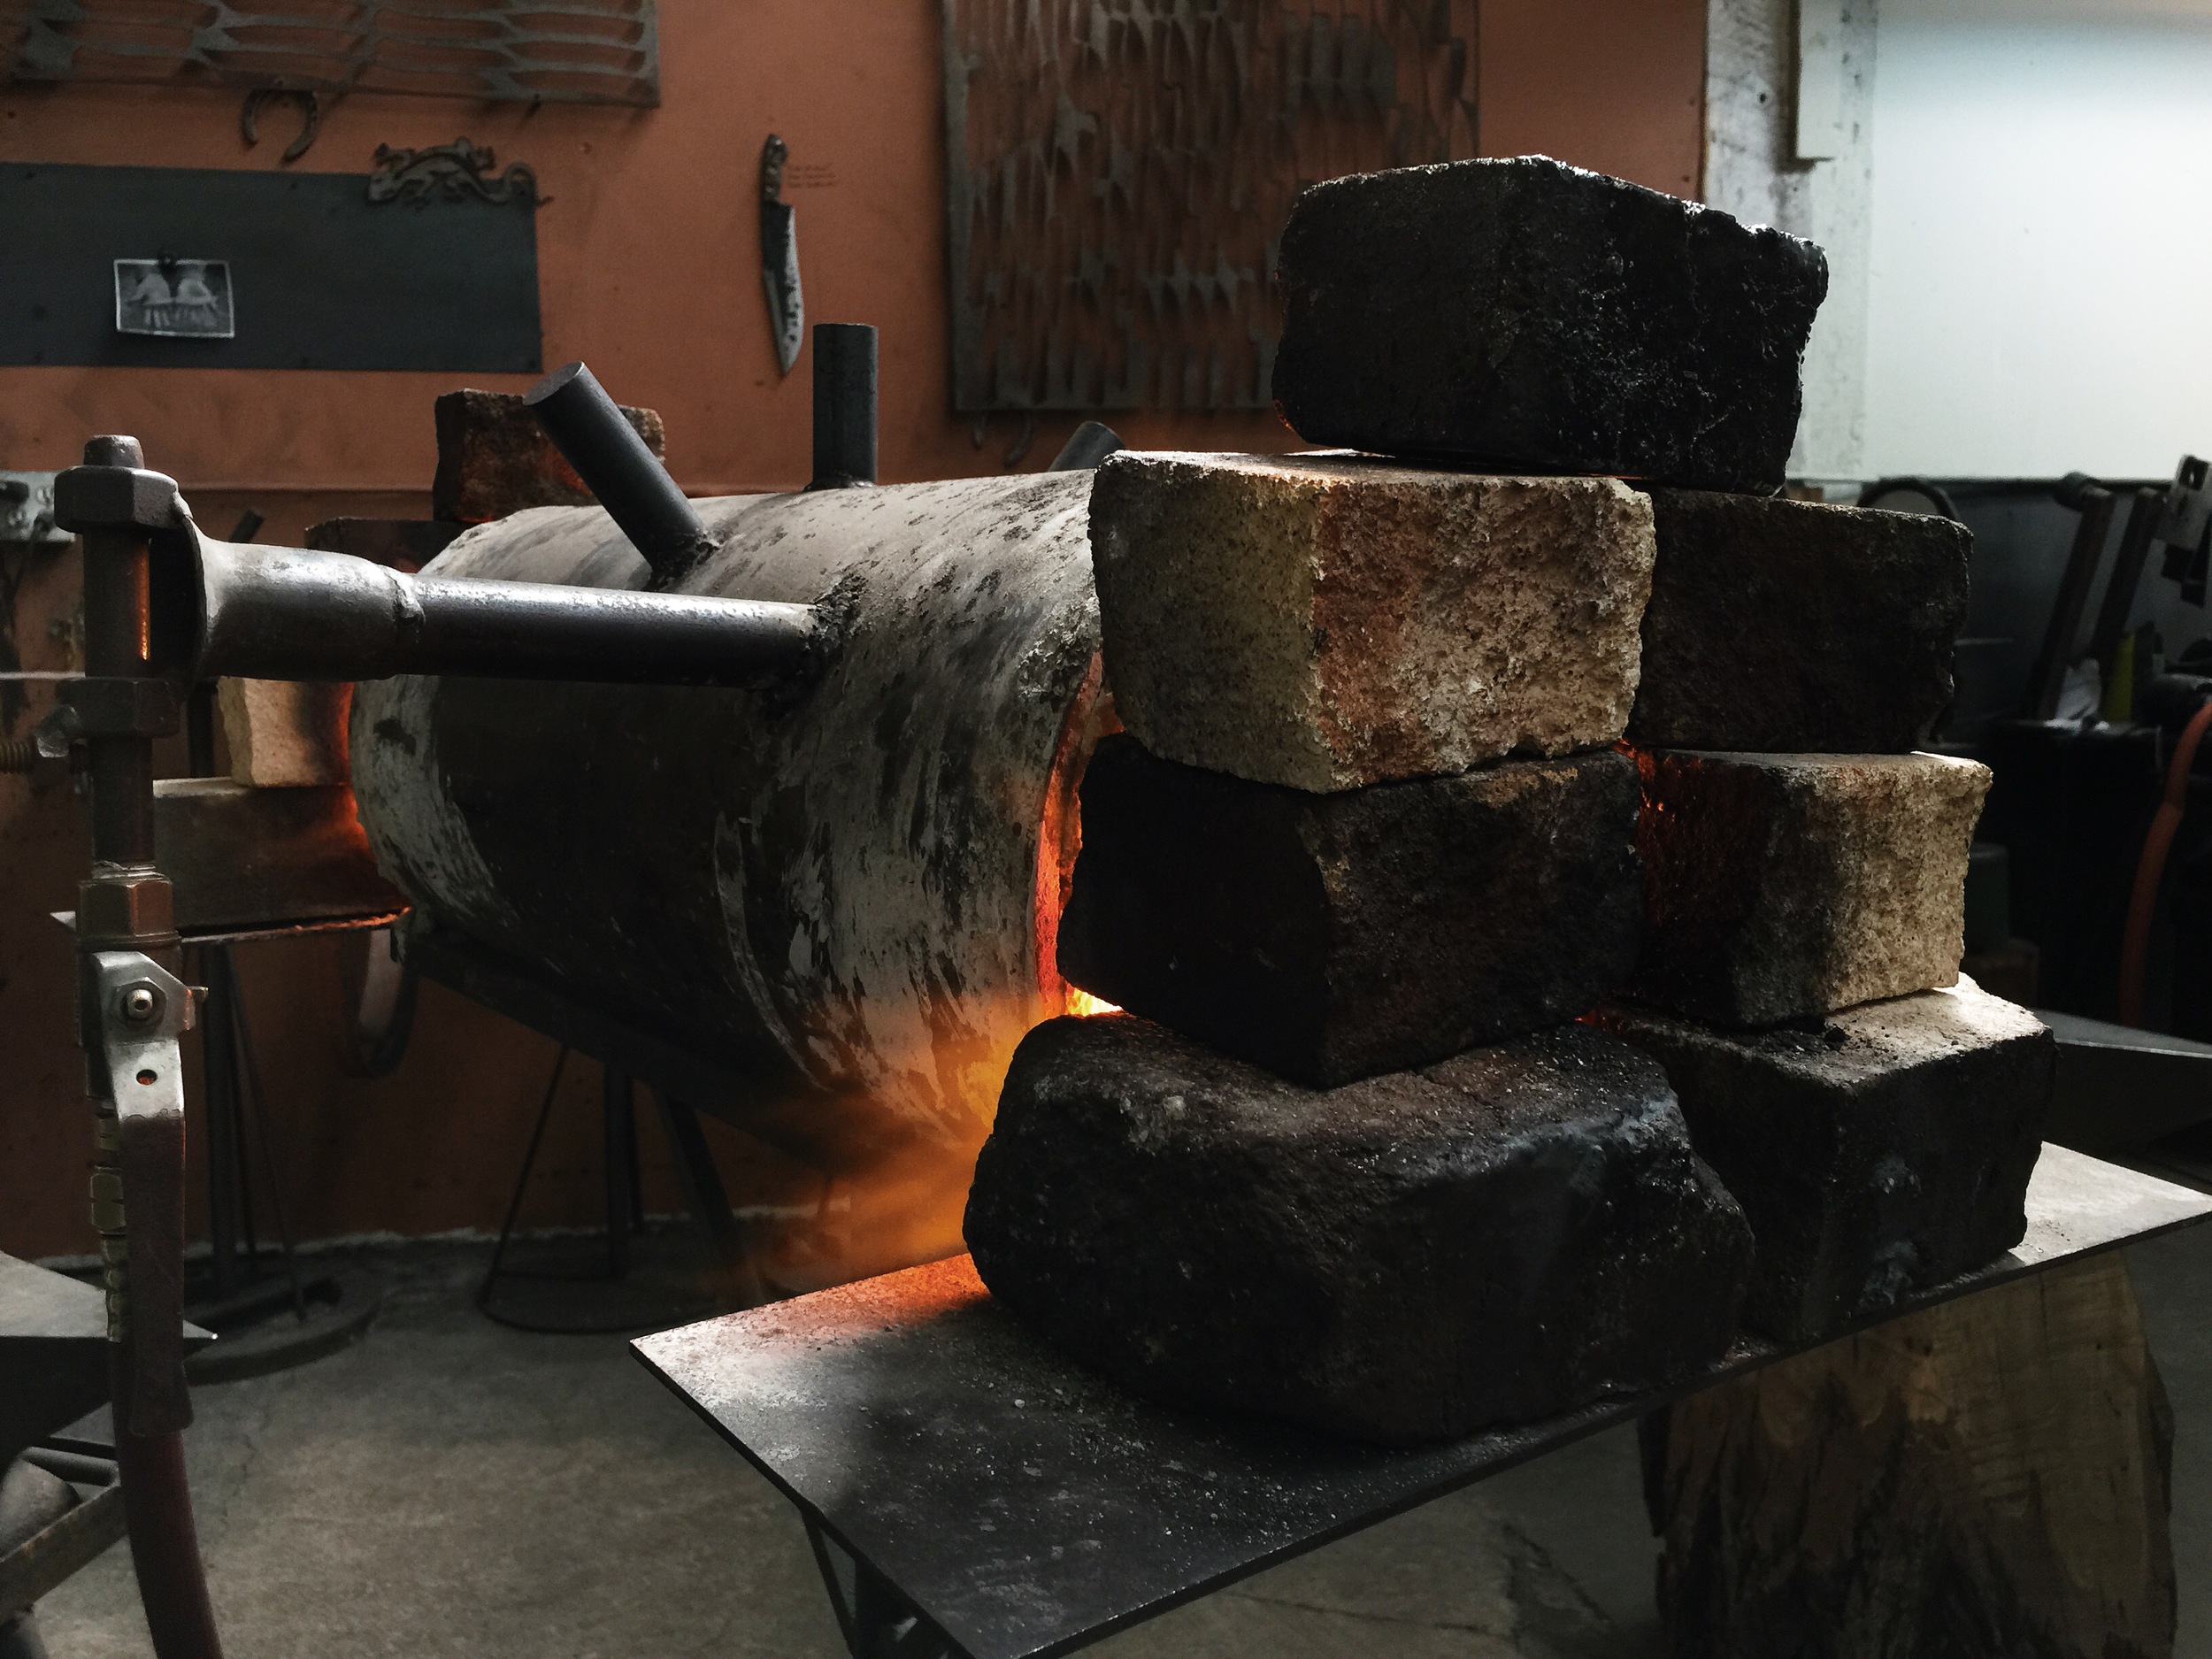
The forge getting up to temperature.
The billet has been welded together once more and is ready to go into the forge.
The final math for this billet looks like this:
41 original layers
forged into 1 billet that was cut and stacked into 4 equal layers and forged again, the result:
164 layers thick
forged into 1 billet that was cut and stacked into 4 equal layers and forged again, the result:
after today, the billet will be
656 layers thick

Waiting for the steel to get hot enough to begin the last stages of this project.
Time to let the billet cool so the ridges on the surface can be ground down. It's a crucial and intentional part of forming this damascus pattern.

Ridges on the surface have been ground down and it's ready for final flattening.

David Lisch demonstrating how the billet is forged to its final shape. Pretty awesome to watch him in his element.
Here's the final result of my very first damascus steel project. You can see a glimpse of what the pattern might look like once it's made into a knife or pocket tool.
I like the name Wormwood and think it fits.